
The interior framing is largely finished. There are a few things still on the to do list, though. I can’t frame the all the walls in the bathroom yet because most of it is just a big open area of dirt.

Oh, yeah! This is the area under the original back patio/porch. Now it’s the master bathroom. The toilet is going in the niche to the left of the chimney and I’ve started a little dig to investigate the structural integrity of the footings because we are going to need to support a big 4×6 post when we move into the living room phase of this project.
By far the most challenging part of this part of the project was getting the two new beams set into place. Though I was sort of dreading it, the process went surprisingly well. The second beam was two feet shorter than the first one, so it was lighter and easier to set. The most complicated part of the process was getting everything cut accurately.

Because the beam hit the roof at a valley, there were two different roof planes to contend with. Then it was just brute force to lift it into place and set the center post.
The one hiccup was that we had this old Douglas fir beam that used to support the original roof. The new beam had to rest above it, but it continues into the living room and acts as the header for the slider there. The engineer and I decided the best course of action was to cut the old beam off flush and land the new Parallam on top of the existing 4×8. With new king studs to prevent everything from rolling, and plenty of tie-straps, we were good to go.
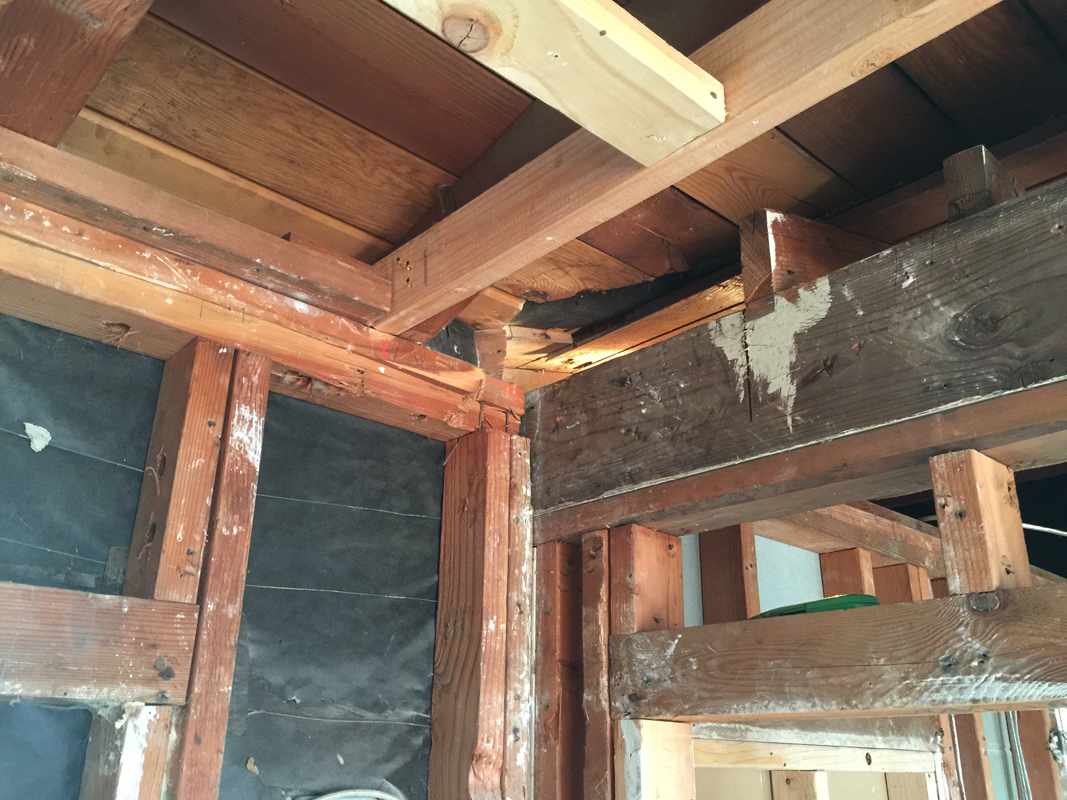
This old beam is coming out, but will get cut off flush at the wall.
The roof sheathing requires a bit of patching but luckily, I didn’t puncture the waterproof valley membrane while doing any demolition. The 2×4 on the right is part of the living room ceiling that will get removed later.
Here’s the beam resting on the cutoff beam. You can see how the original 4×8 twisted a bit under load and as the wet wood dried out over the years. Fortunately, it is solid, has no evidence of termite activity and will not be noticed by anyone once the drywall gets installed.

The king stud is already in on the left. I still need a 48-in drag strap that ties the two beams together on the right, which means removing some crown moulding and drywall in the living room. Then I can add the king stud on the right.

Open. I still need to finish nailing off the plywood shear wall on the right. The spec calls for 10d common nails every 3-in along all the edges.

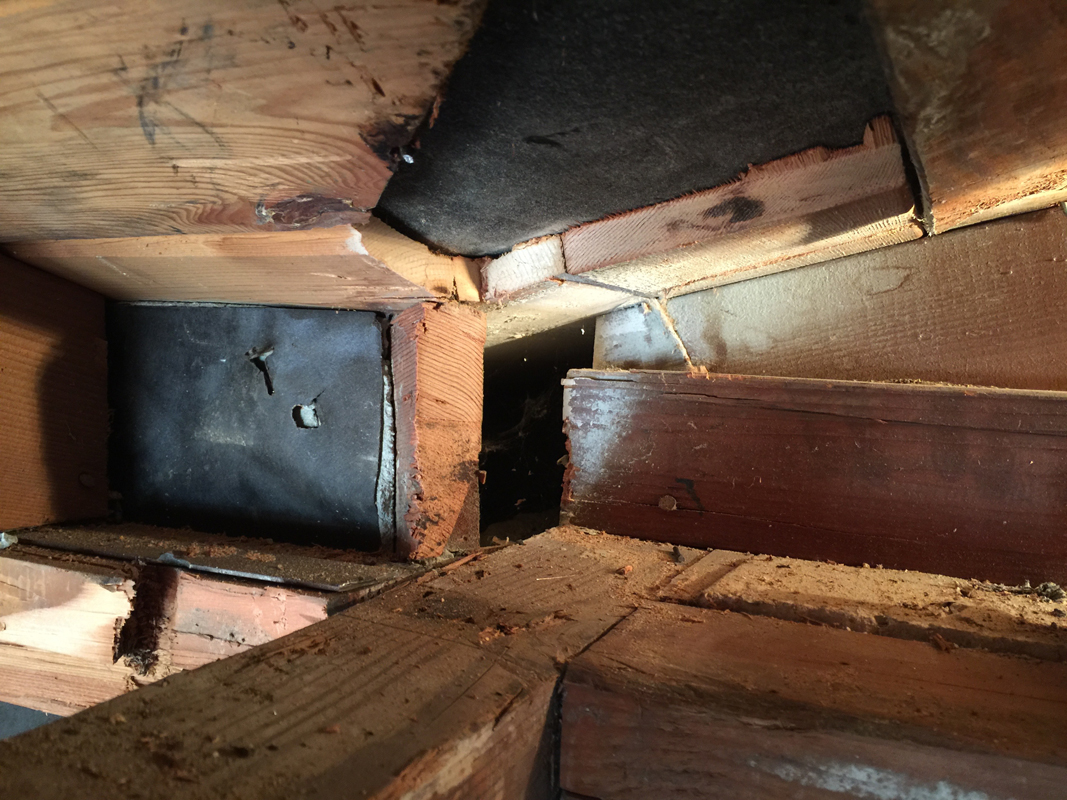
The center column cap where the two beams meet. A total of 30 3-in x 1/4-in screws hold it there and then another 48-inch tie strap for good measure. I love earthquake anticipation.
And the finished beam is finally installed. All the joist hangers are secured and the temporary walls are down. The bathroom and closet partition walls are done, other than setting the final shower width and framing in the steel-stud wall up against the back side of the chimney.
I’m glad that’s over. Now I am moving on to relocating the window openings to fit the new bedroom configuration. I’ll dig into that process in my next post.

Pingback: Figure It Out |·
Ha! Gilson linked this on Facebook. Looks like fun! (yeah, I’m a glutton for punishment too) Do you have to use a boat load of earthquake straps in California, or just joist hangers considered good enough?
LikeLike
Read the post Seismology Matters. Talks about this topic. Everything is specified by the engineer. In our case, there is one key shear wall handling most of the seismic tasks for the entire house.
LikeLike
Blake! I thought I saw you yesterday, outside of the Ecolab Building in St Paul… so I thought I would look you up to see what you were up to, it must not have been you! Looks like you are out of state and keeping busy! Hope you are well! Warmly, Jaunae
LikeLike
Definitely not me, though I was back in MN for two weeks just after Christmas. We left MN in 2004, and have lived in TN, PA, IN and now CA since then. Time flies.
LikeLike
Pingback: Guest Bathroom |·