
Nearly everyone that walks through the house these days comments on the mirrors in the bathrooms. So here’s a rundown of how we created them.
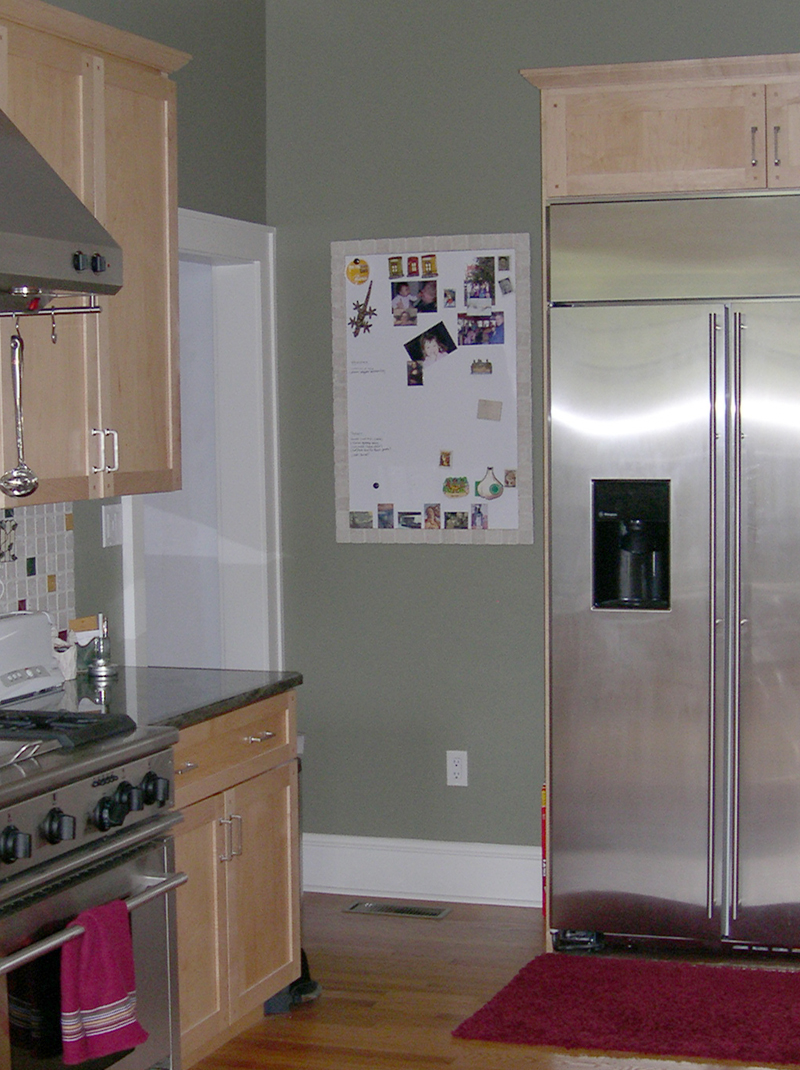
Eve had found a glass tile that she loved, but we couldn’t find a good way to incorporate it into the tile scheme for the guest bathroom. So I said that I thought we could use it to frame a mirror. I tried to make a tile frame for a magnetic whiteboard for our house in Knoxville, which worked, but I knew that I could come up with a better design for this version. With my first attempt, I simply glued a cheap whiteboard to a sheet of cement board, then thinset some of the leftover backsplash tile around the edge.
My initial design served its purpose, but was too heavy and I wasn’t pleased with the unfinished edged. I knew that there had to be a better solution.
I have been using the Schluter Systems profiles to finish tile edges and I am a big fan of them. I usually keep a catalog and price list around the house for reference, and I was thumbing through it when I stumbled on the Rondec-Step stair nosing profile. That’s when I had a brainstorm. I could use the metal to hide the edge of the tile substrate and give everything a clean finished look. So I ordered some in this brushed gold color to match the hardware in the bathroom.

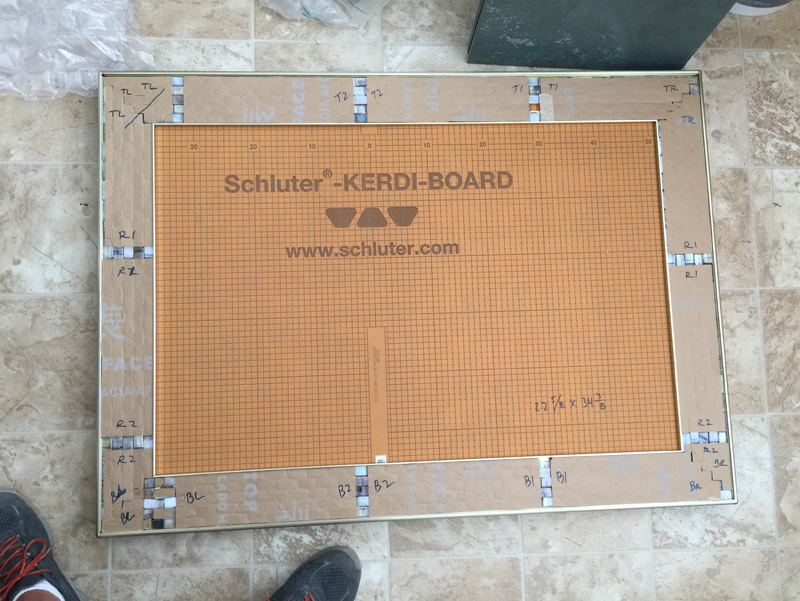
The next thing I needed was something to mount the metal profile and tile against. Enter Kerdi-board. This is another Schluter product that is basically a dense foam panel covered with a fleece membrane. Tile can be thinset directly to the fleece and it sticks great. Plus the foam stays flat over time, which can’t be said of plywood. The only problem is that the thick panels I needed only come 24-1/2 inches wide and my mirror frame was larger than that. I was worried that gluing the panels edge-to-edge would create a big weak spot, so I opted to build up the thickness by making a sandwich of three layers of the 1/2-inch thick board.
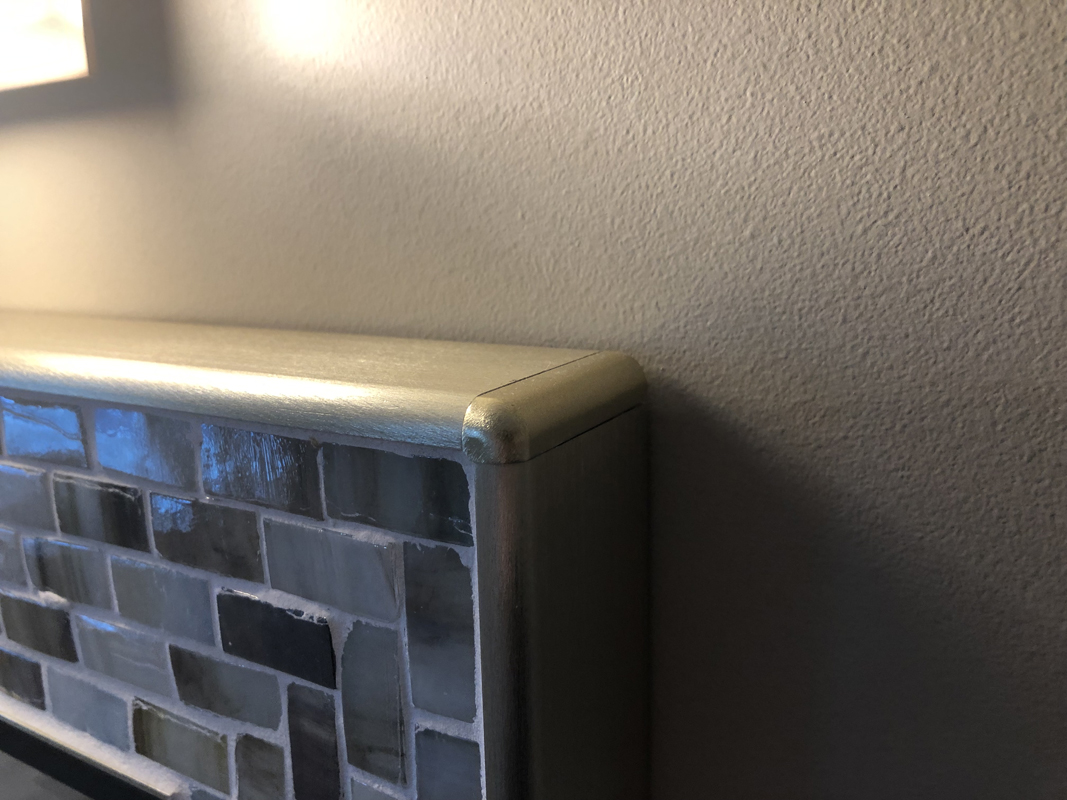
The company offers 90- and 45-degree corners for the Rondec-Step, so there is no need to line up complicated miters.
Luckily I was able to pick up two damaged 4-ft x 8-ft sheets from my local dealer at a major discount, which helped keep my overall costs down. Then I ripped some strips to build up the edges of the frame. Because this was purely for decoration and had no structural necessity, I glued up the pieces with 3M High Strength 90 spray adhesive. It’s basically a contact cement that forms a permanent bond. I tested it out on some scraps and it held fast so I went with it.

From the back, a built up frame with a single sheet of Kerdi-Board to set the tile and metal profiles against.
Even though the assembly was relatively light, I opted to use a French cleat to mount it to the wall. By building up the thickness in 1/2-inch increments, I could simply use a piece of 1/2-inch plywood to make the cleat and everything fit perfectly without any math. I mounted with french cleat with more spray adhesive and also with a few screws. I used some leftover plaster washers to prevent the screws from pulling through the foam.

The entire assembly with the French cleat.
Because there was no predetermined size, I laid out the tile first, then made the frame to fit so I wouldn’t have any cuts in the fragile glass tile. This worked well and I was able to do a herringbone pattern at the corners of the mirror.
It’s kind of hard to see because the paper facing on the tile has not been removed, but you can get the idea of the layout here.
Once everything was set and grouted. I ordered a beveled glass mirror from my local glass shop that was an 1/8-inch smaller in both directions, so I would have a nearly invisible 1/16-inch gap all the way around the mirror. I used PL520 Mirror Adhesive to mount the mirror to the foam and it held great. Then all that was left was to mount the other half of the cleat to the wall and hang the mirror.
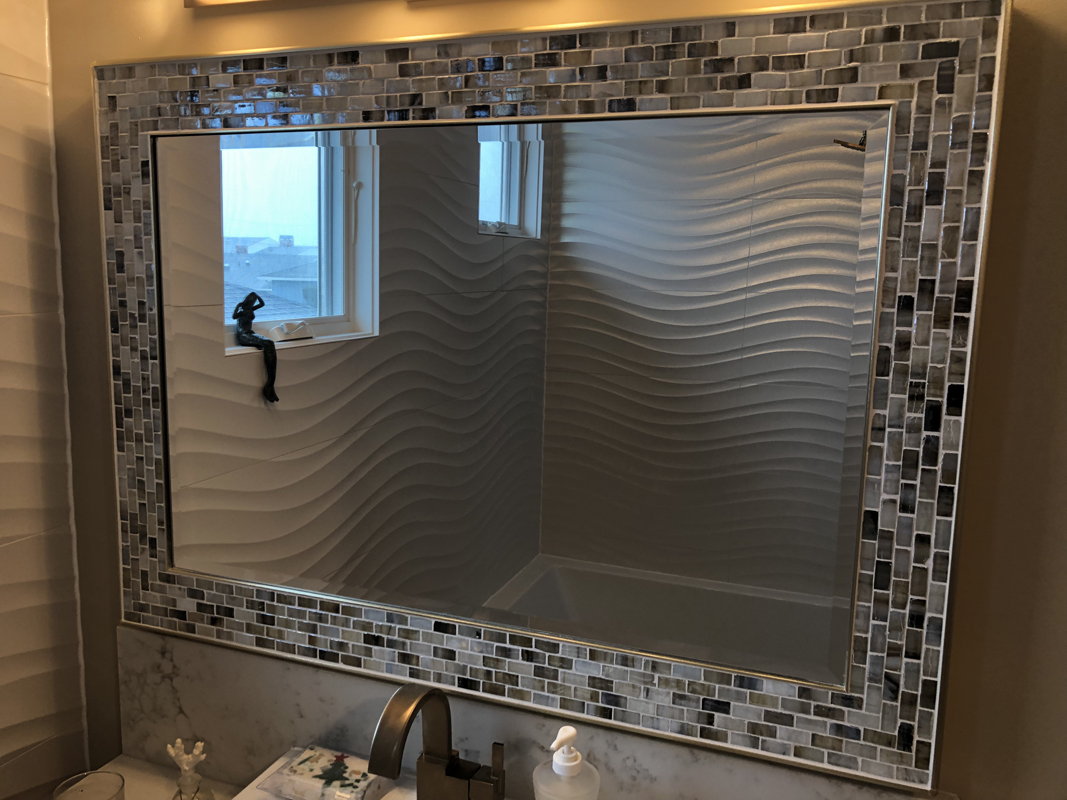
The finished product.
We’re super happy with the way it turned out.

Pingback: Master Spa Bathroom Part V — Cabinets |·
Pingback: Master Spa Bathroom — Part VI Wrap Up |·