
When we originally designed the bathroom layout, I did not plan on making all the cabinetry myself for multiple reasons. Mostly, I was concerned about the amount of time I knew it would add to the project. But, after searching for vanities that would work in the space allotted and fit the overall style, we decided that I was going to have to just go ahead and make them custom. In the end, I’m actually glad we did it this way. We got exactly what we wanted and though it cost time, these are way nicer than anything we could have bought off the shelf. Plus, I guarantee we saved thousands of dollars vs. having them custom made for us.
On a side note, I had all the solid lumber for this project in my shop already. The walnut was from a tree that we cut down on our property in Knoxville, and the oak was from a local sawmill that I frequented when we lived there.
Inspiration And Design
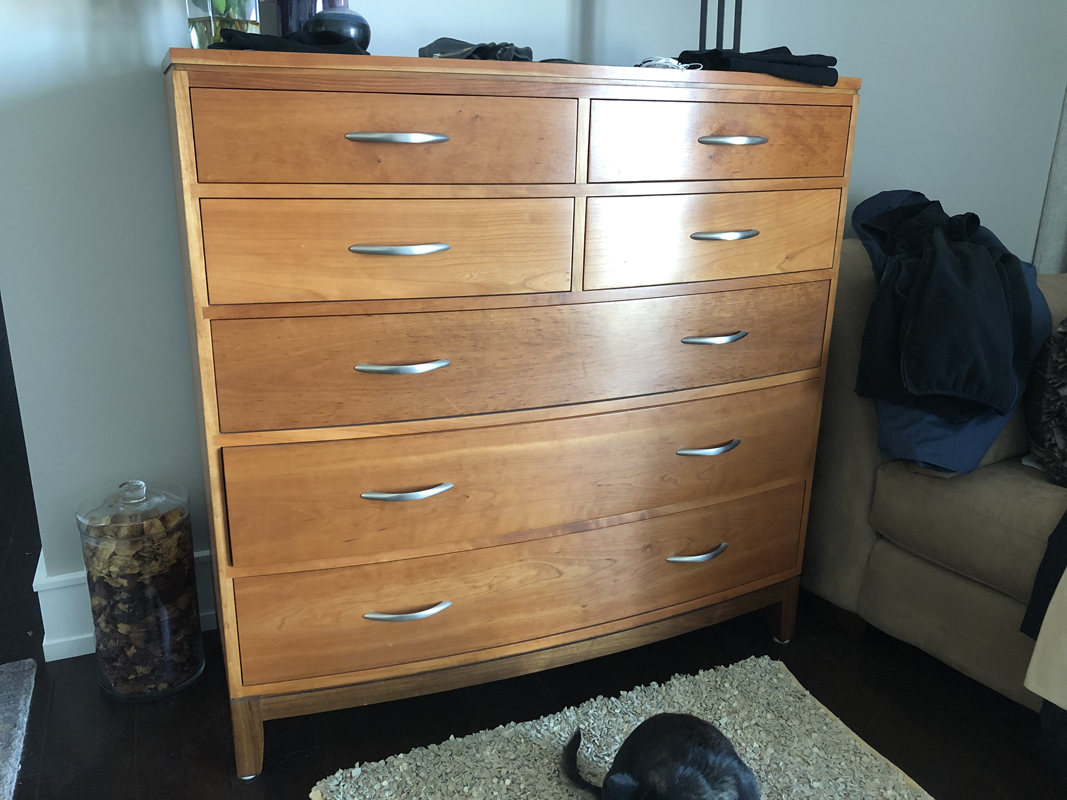
This Stickley dresser was our inspiration. We bought this when we lived in Indianapolis and I like the combination of the walnut base and cherry case.

I used SketchUp to draw a working plan. I knew that this was going to change slightly, but I wanted some idea of where I was trying to end up.

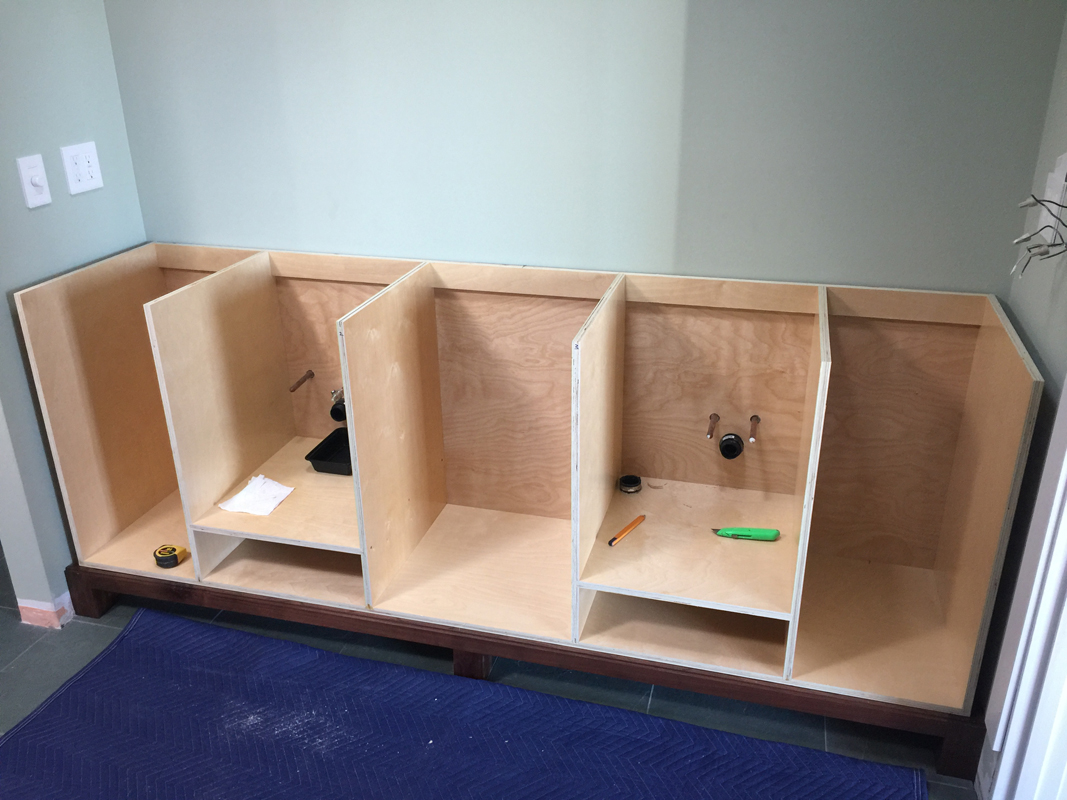
Next, I constructed the base, and set it in place. I took care to get it level and square in all directions so that the casework would go in easily.
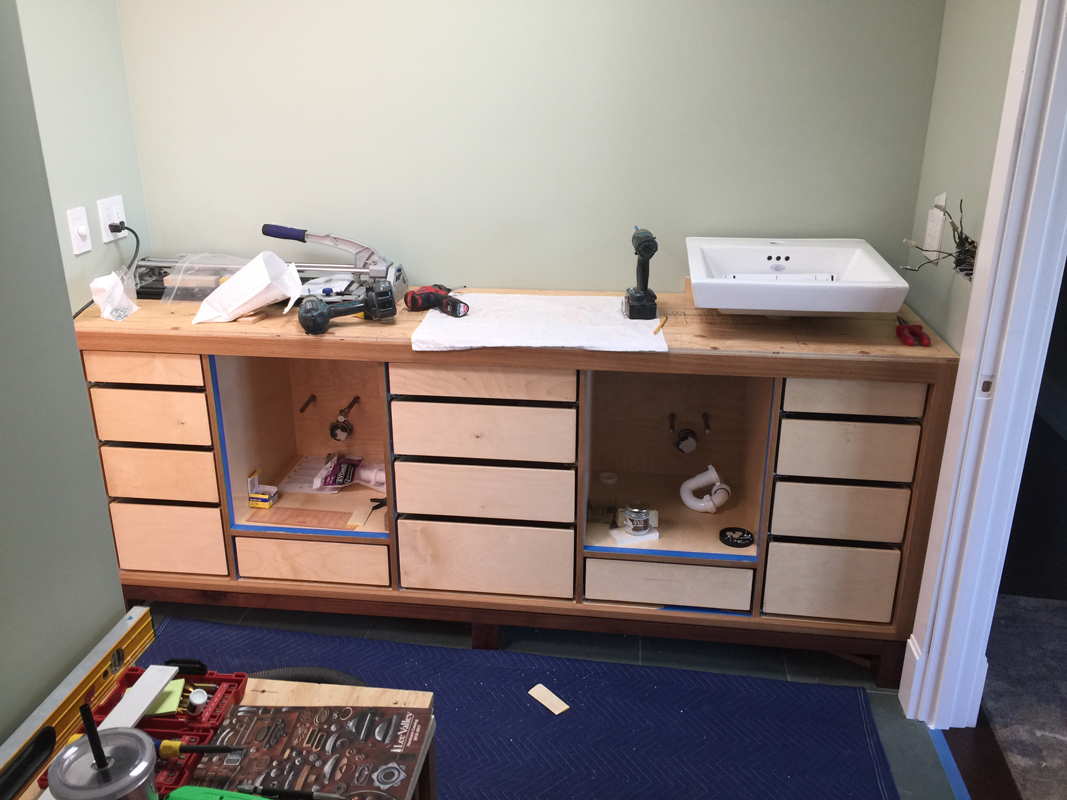
Here’s where I had to get creative. I wanted the areas under the sinks to be as short as I could make them. But I also had to leave enough room for the plumbing traps to fit, since they dip below the height of the stub outs on the wall. So I mocked up one of the traps and used it to adjust the final height of the shelf that divides the under sink area from the drawer below.
The Carcase
Due to the size of the cabinet, I thought building in place would work better than trying to make it in the garage and then move it to the master. Since I was working alone, it would have been tough to get it through the house without damaging the walls, floor or the cabinet itself.
I used prefinished maple plywood for the case interior, which saved a lot of finishing time.

Next, I moved on to the drawers. They say woodworkers never have enough clamps. I can confirm this.
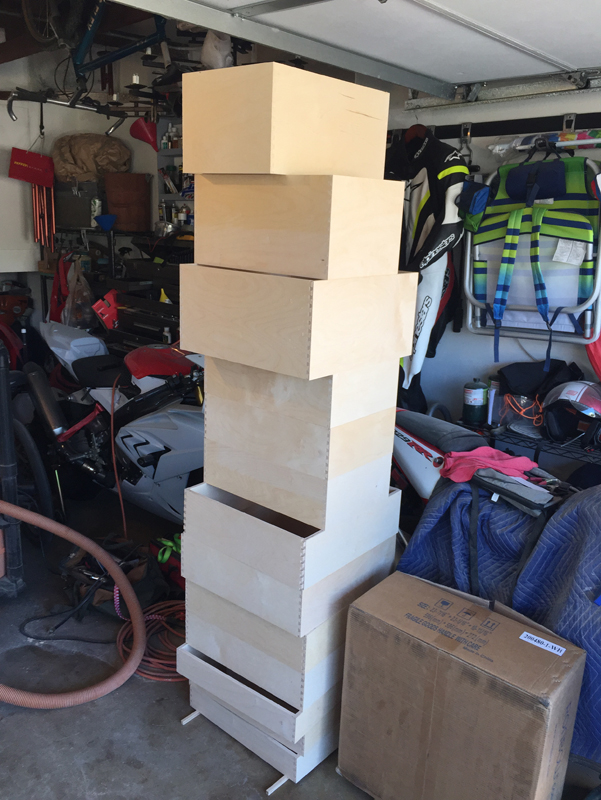
There were a total of 20 drawers between the two cabinets.
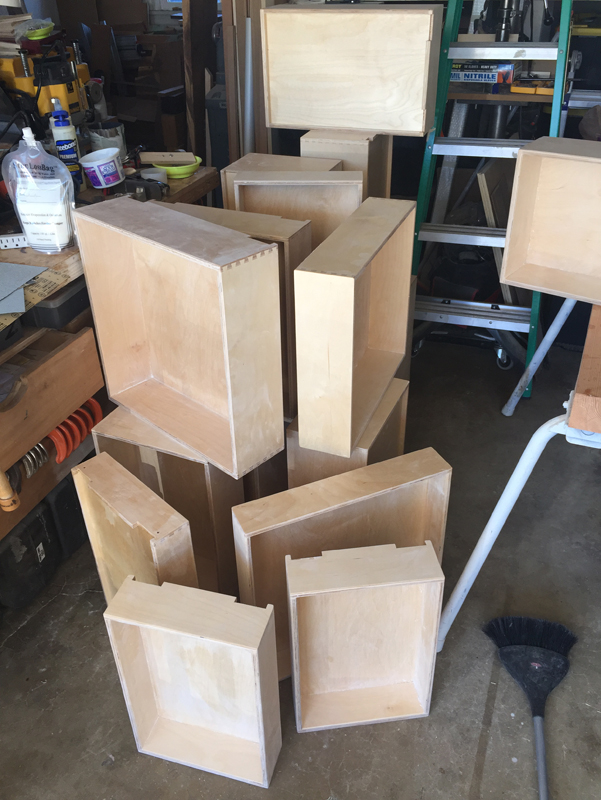
Space definitely started to become an issue in the garage.
Eventually, I got the drawers built, finished and installed in the cabinet. The faceframe went in at this time as well.
Completing The Look
We were going for clean lines and a timeless modern aesthetic. Though our inspiration dresser is walnut and cherry, the classic wood of Craftsman style is white oak. And white oak and walnut work beautifully together. I picked a sheet of rift-sawn plywood and I laid out the cuts with continuous grain for the doors and drawer fronts.
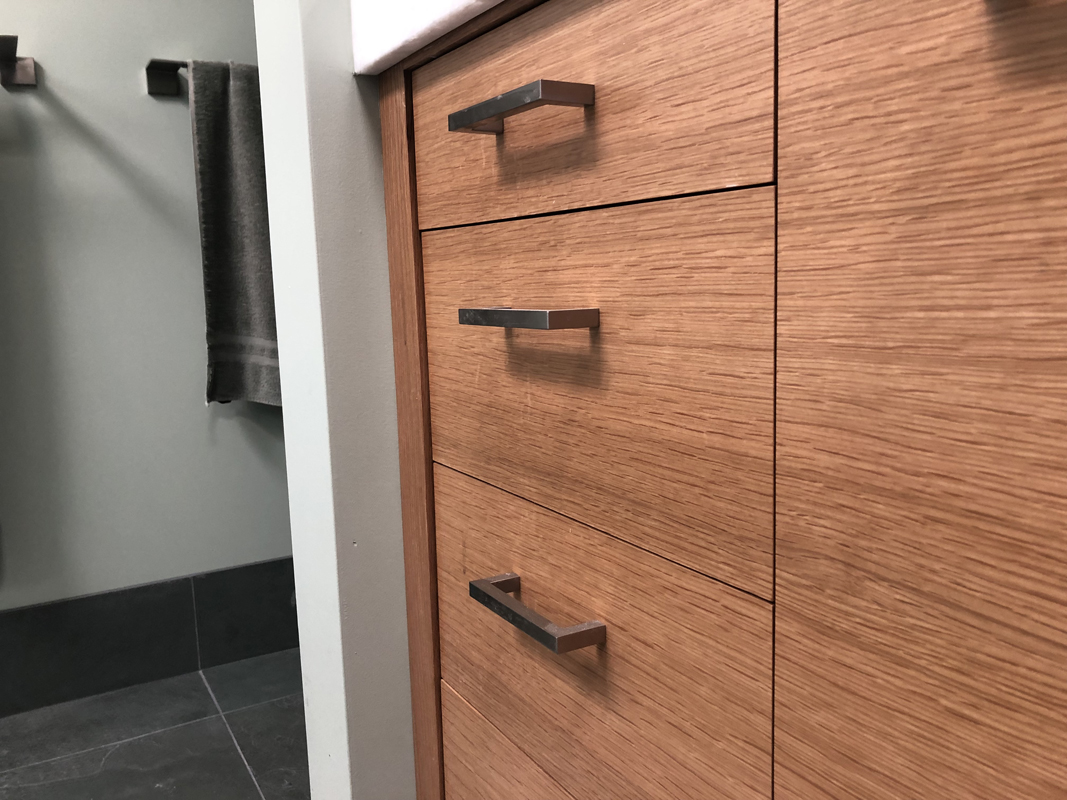
You can see the grain matching between the drawers and doors. Also note, the faceframe is thicker than the drawers, which makes the cabinet look more like furniture than typical built-in cabinets.

The small groove between the contrasting woods is a detail I borrowed from the inspiration dresser. But it also helps give the vanity a furniture quality feel.
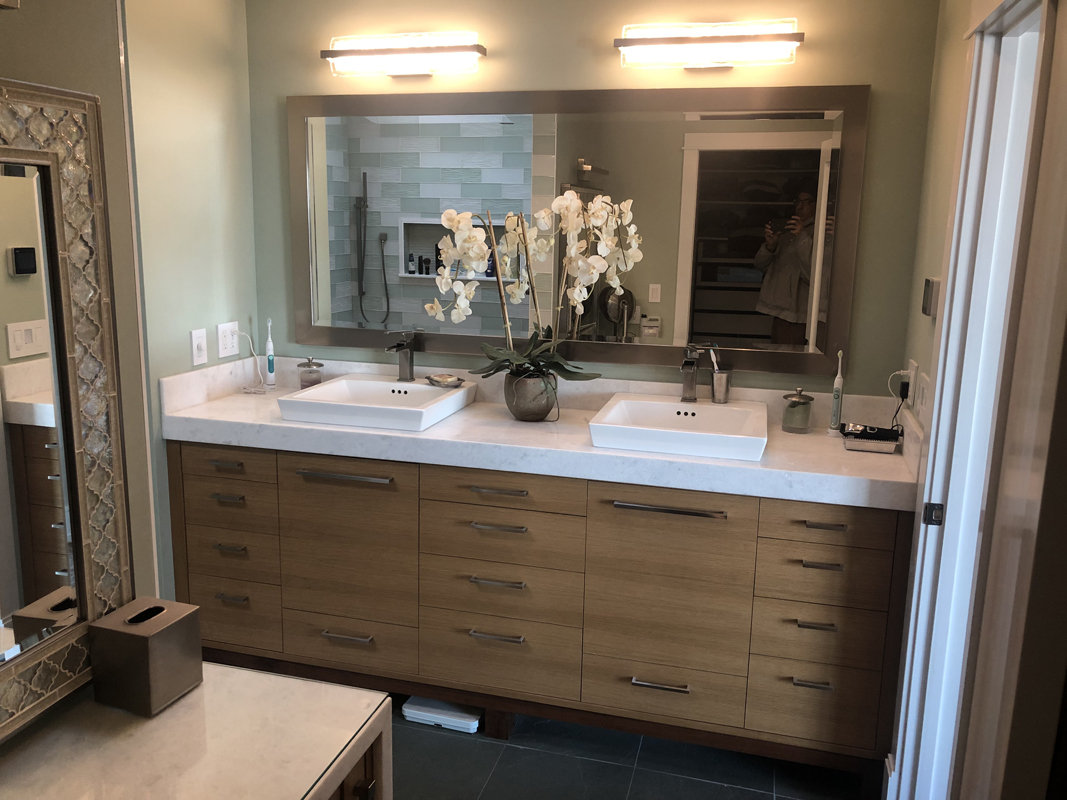
The finished vanity.
Making Up Makeup
For the makeup vanity, I mimicked the same walnut base/oak cabinet design, with a few special touches. We knew going in that we were going to do a waterfall edge on this vanity as well as on the shower bench. We found a beautiful slab of white marble that looked like rock salt compressed into sheet form and we wanted to highlight it in the overall design of the bathroom. That meant I had to design a cabinet that had a sturdy right side for the marble to rest against. The space was not wide enough for a set of drawers on the right and still provide adequate leg room, so I designed a “column” on the right.
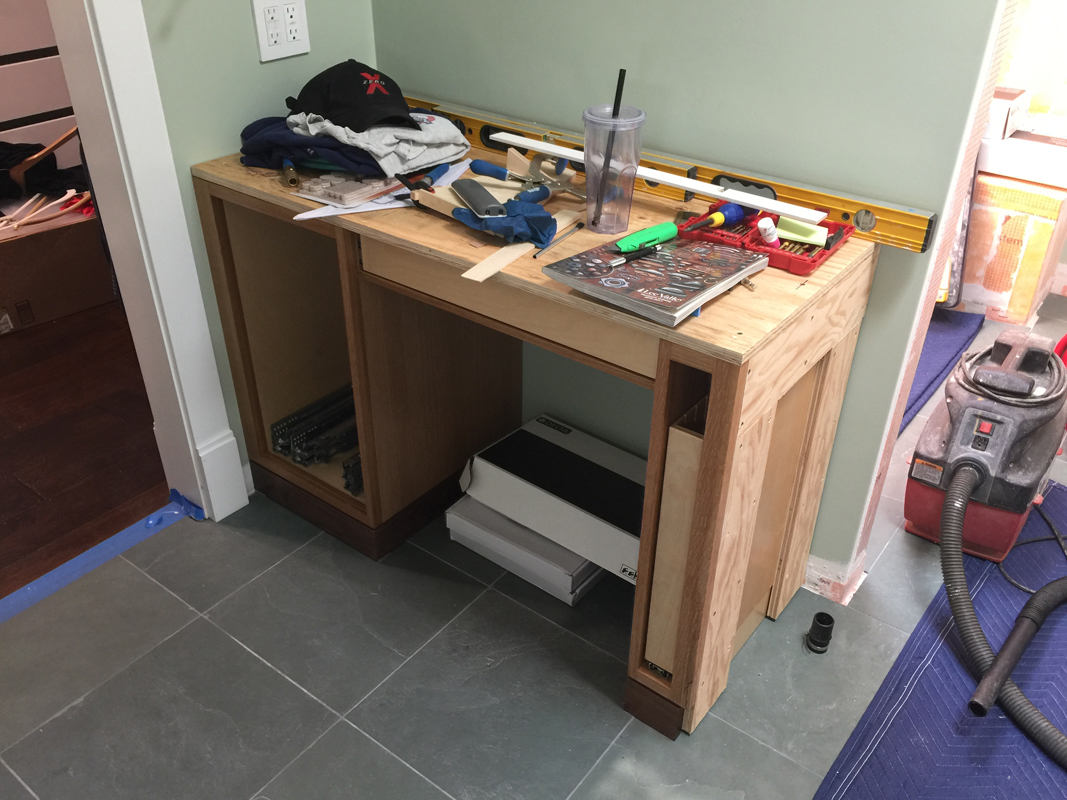
Most cabinets would just have a hollow column here, but I figured out a way to use the space for a bit of additional storage.
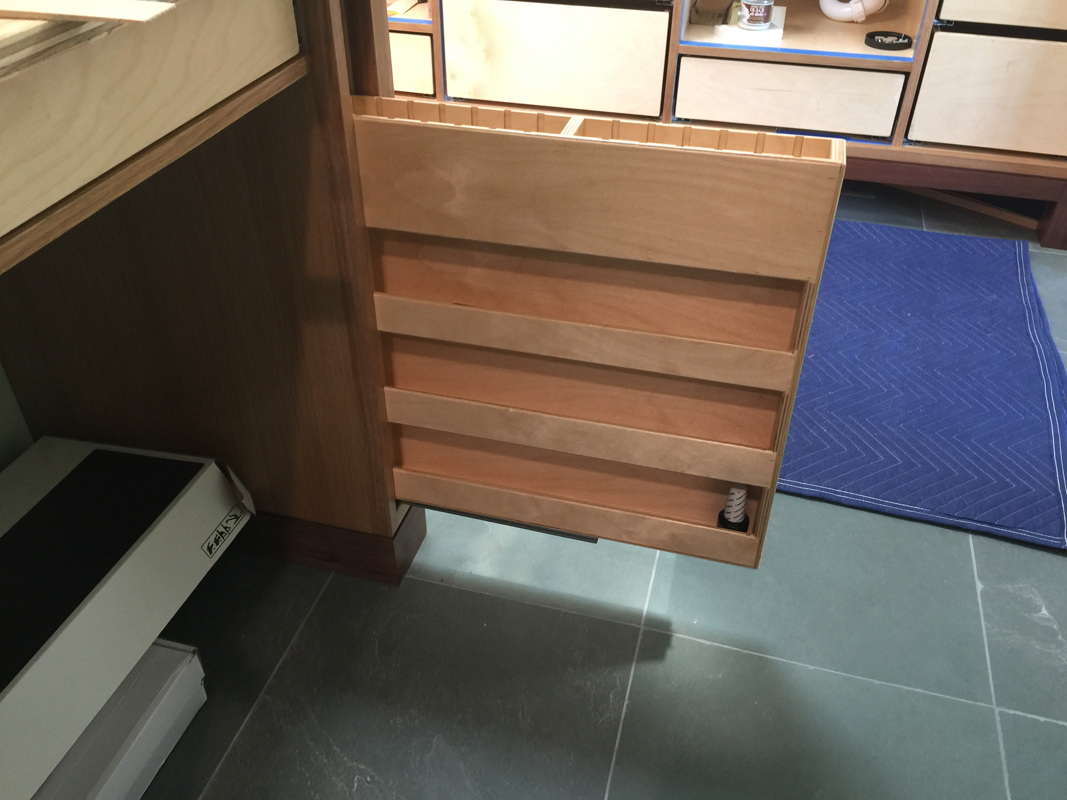
A vertical “drawer” with a bottom-mount slide provides shelves for nail polishes and cubbies for makeup brushes.
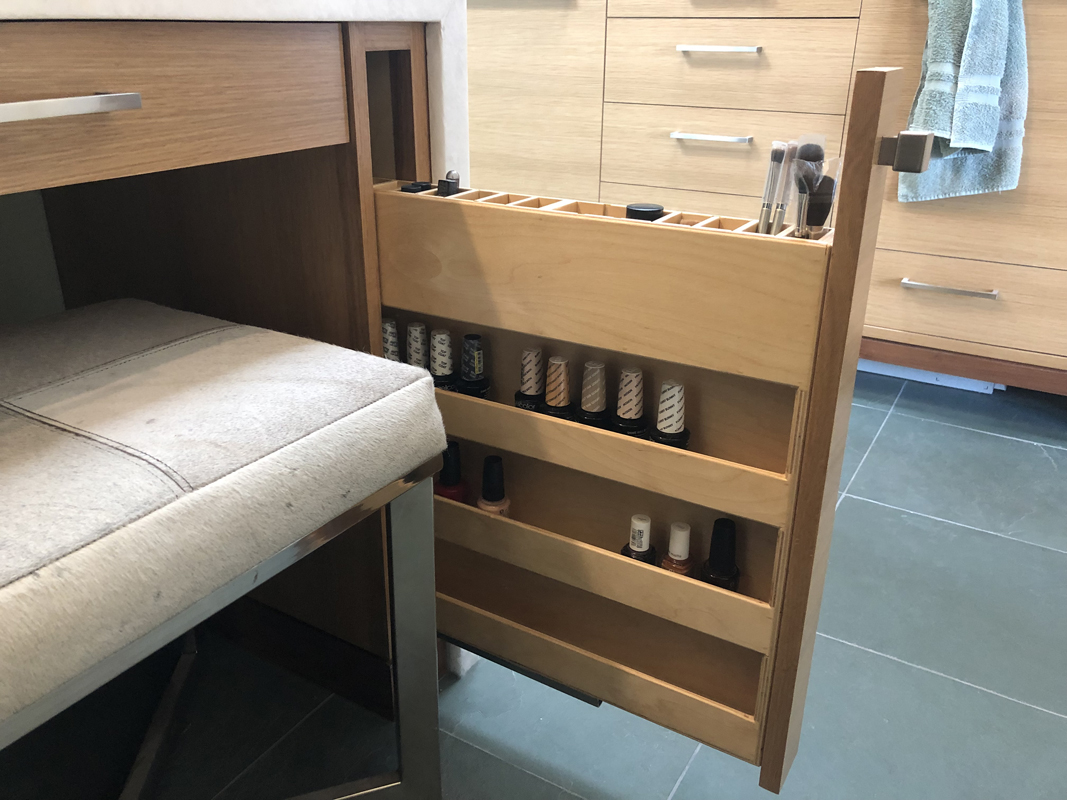
I measured the bottles to make sure I got the spacing correct.
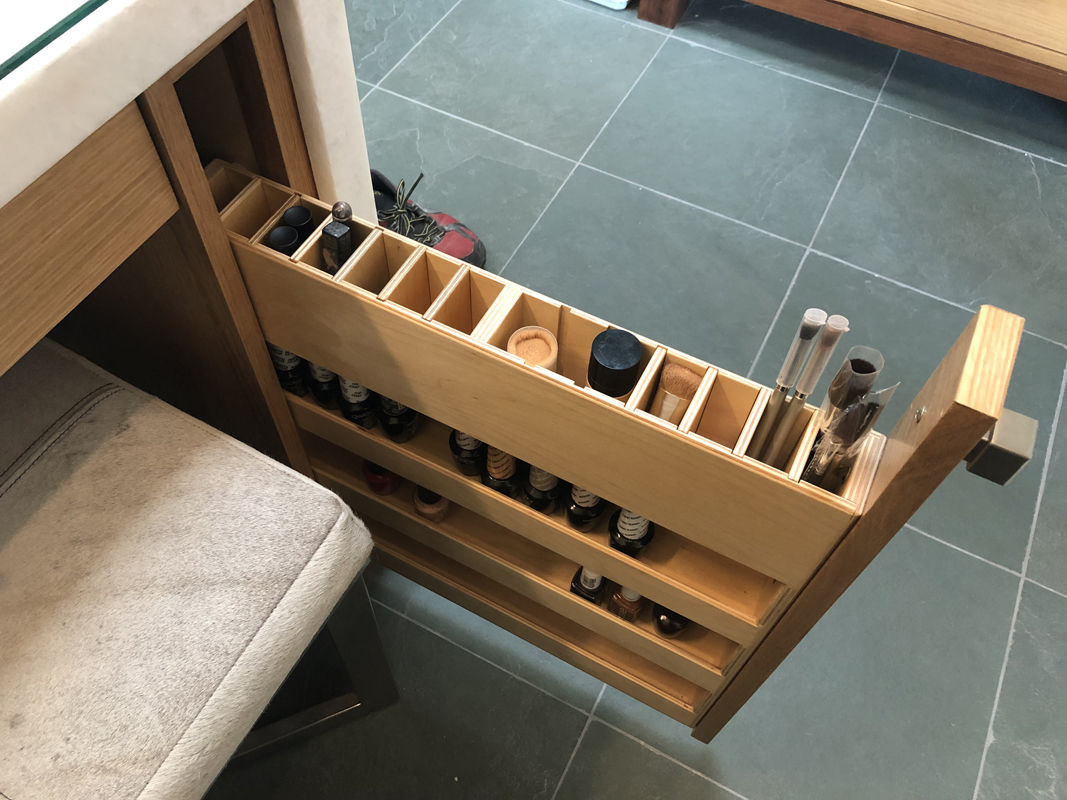
Plywood inserts slip into slots in the top so my wife can customize the bins for whatever she needs to store.
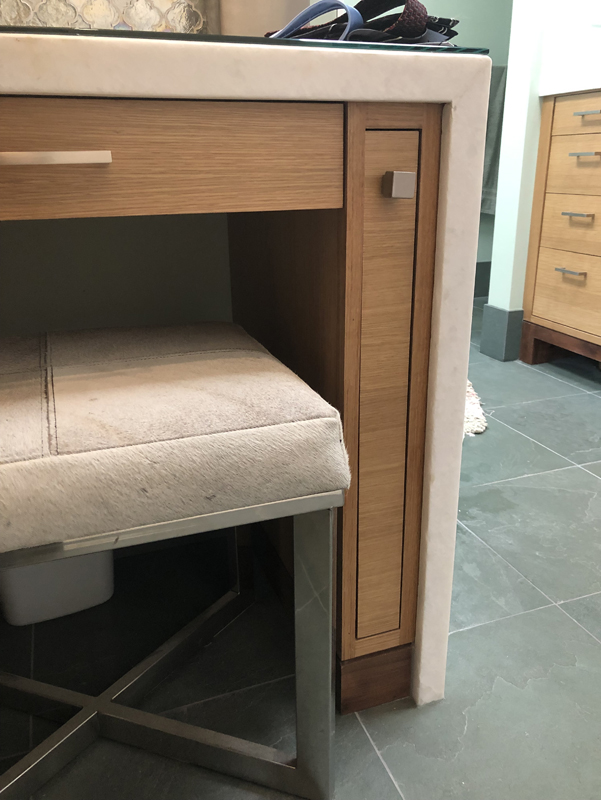
I ran the grain horizontal, which is atypical, but it compliments the look of the cabinet in the overall design of the bathroom.
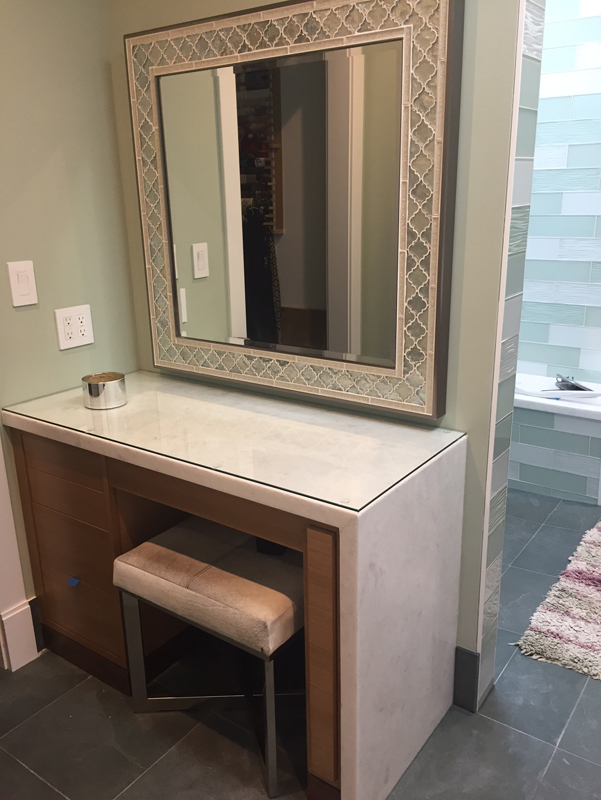
All finished. The glass top prevents makeup from staining the porous marble. And because the bathroom is linear and masculine in general, we made the mirror to add a feminine touch for this space.
That’s about it for the master bath. I’ll do a final wrap up in my next post to discuss the finishing touches, but I’m ready to move on.

Nothing short of beautiful!
LikeLike