
Once I completed the demo, I could finally see what we were dealing with. There was a lot of termite and water damage, but Luckily, it was all relatively fixable. After I removed the bad floor joists, there was about a 3-foot x 5-foot area that was open to stand on the ground. That made getting the old plumbing out a lot easier, and allowed me to get a shovel into the space to remove the sand down to the main cast iron drain. Luckily, our soil is pretty much sandy dirt. It’s really easy to dig, compared to the clay I was used to in Minnesota and Tennessee.
The floor joists are temporarily installed. I pulled a couple back out so the plumbers could do their thing.
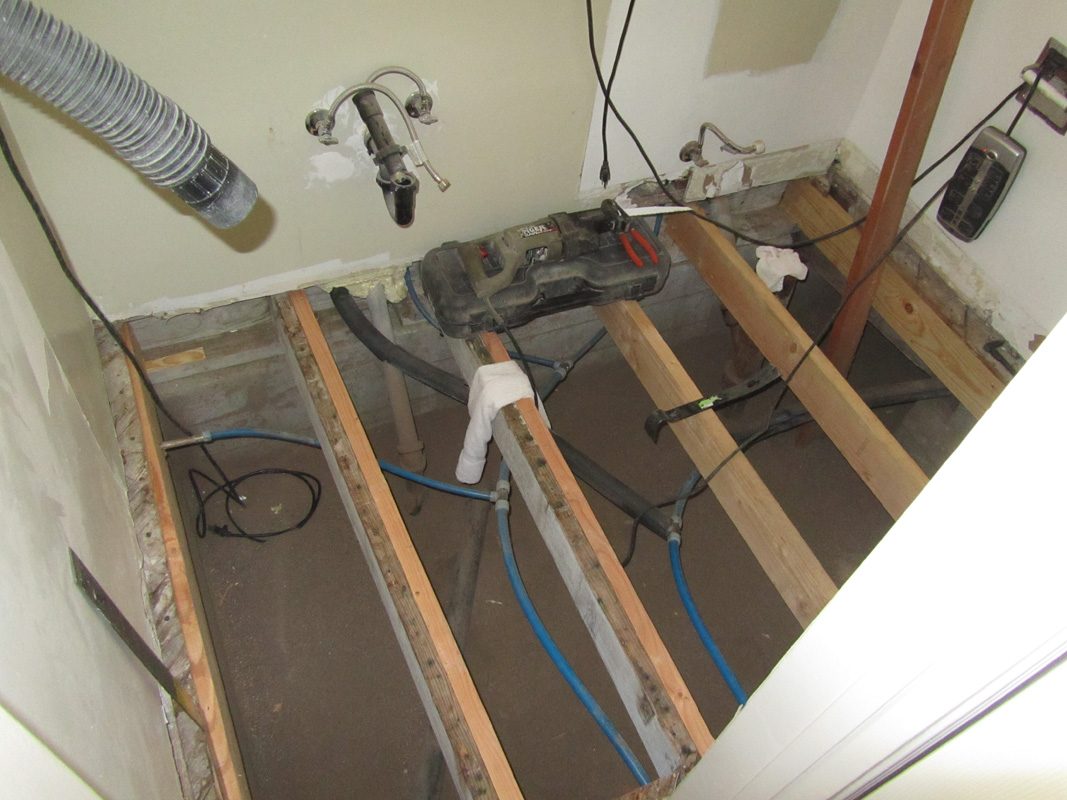
I hired out the plumbing. First, I don’t have a Pex expansion tool so I couldn’t do anything with the supply lines. The other thing about plumbing is that I just don’t really enjoy it. I have great respect for really skilled plumbers, I have done enough to know that it is not easy. But, it’s dirty, especially when doing remodeling. The gunk, crud and crap (literally) that builds up in drain pipes is nasty. So for this project I opted to bring in some help. I dug the sand out around the pipes to save us a few bucks, but the pros did the new drain pipes and supply lines.
Once they were done, I could re-frame the floor permanently.

The floor joists are back where they belong, ready for subfloor.
Finally, I was ready to start laying down the subfloor plywood. Since we were planning on a natural stone floor, I had to make certain that the deflection was adequate so the floor wouldn’t crack. There is a great tile website that has a nifty tool to calculate deflection. Users can enter the joist size, material and span and the “Deflecto” will tell you if the structure is adequate for tile or not. Since this span is only about 5 feet, we were good to go.
If you look carefully at the bottom of this photo you can see the new 4×6 beam that I had to install to support the floor. The area in the background is the guest room closet.
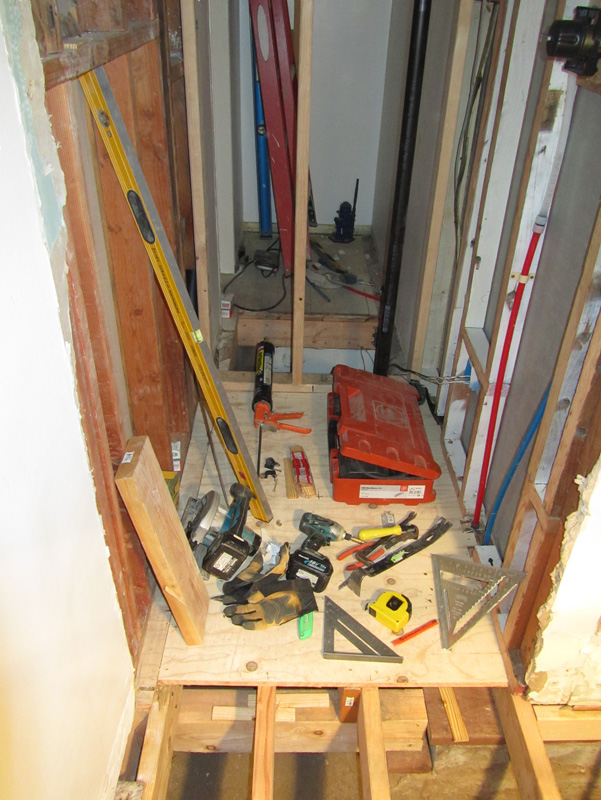
I started the subfloor in the actual shower because it was the most difficult space. With all the rotten wood, I needed to try and slide the plywood under the bottom plates of the existing walls. I was a little surprised it went so well. And of course, like any project, as soon as i have a level, flat surface, it becomes a landing place for all my tools. It’s a terrible habit that I’ve yet to break. It definitely slows me down because I’m constantly moving stuff from one place to another.
Hopefully, we will move quickly through the tile in the next post!
