
One thing about renovation is you never quite know what sorts of adventures you’ll encounter until you open up the walls. We definitely had our share of that with this project. I am actually feeling quite proud of myself for some of the little tricks I discovered along the way.
First, is a simple and actually kind of dumb thing. It goes back to the demo phase, but I haven’t written about it so far. Here it is:
Use a magnet to find nails and screws.
You’re probably thinking, “Why do I need to find nails and screws?”
The answer is simple. The more nails and screws you can remove, (this is especially true in drywall) the easier it is to take it down in large pieces. If you leave all the screws in, it just breaks into small chunks.

I use rare-earth magnets because they are super strong. I only stack them to make it easier to hang on to them.
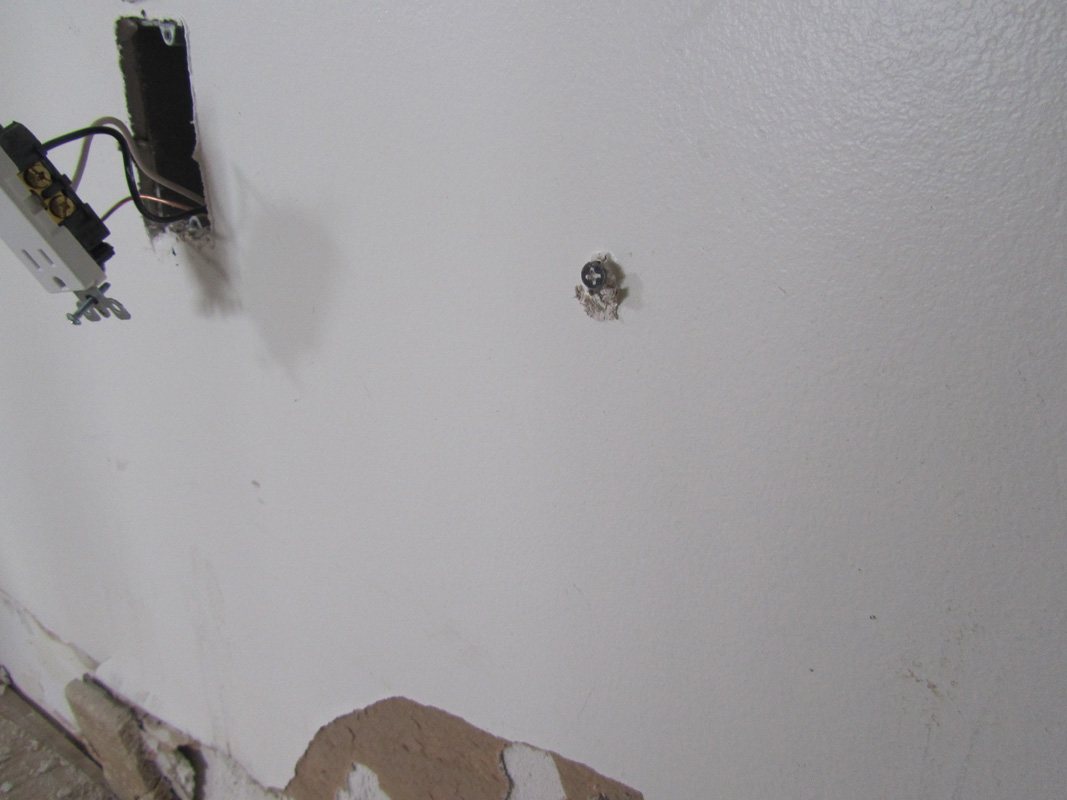
Once I find a screw, I back it out with a cordless drill or impact driver. Once I get a bunch of screws out, I can remove the sheet in one big section.
Like I said, dumb. But effective…
The next cool solution I came up with was in this corner.
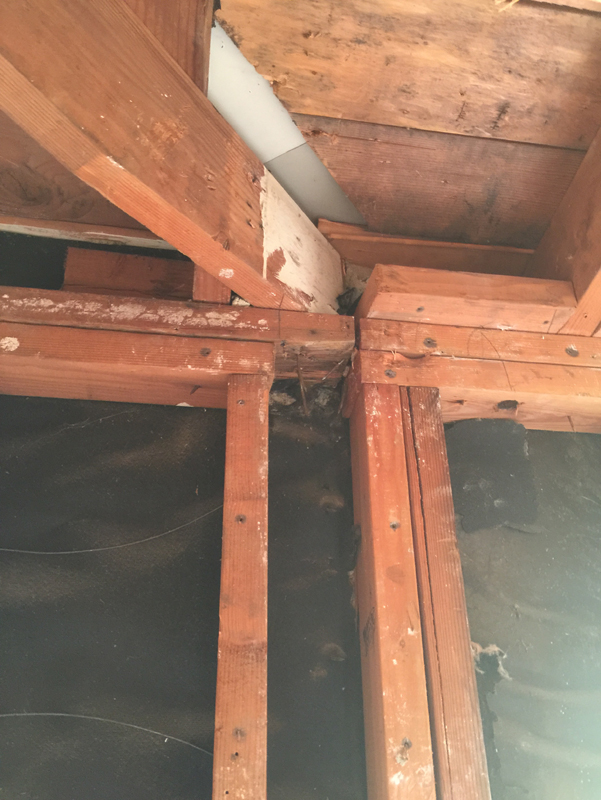
Here, I had the hip rafter from the original roof that was coming down directly into the beam pocket for the new Parallam that I had to put in. I discuss that process here, so we are going back in time a bit in this photo.
The problem here is that the bottom of the beam needs to go above the plate that the hip is resting on, leaving it unsupported. I spent a day or two thinking about how best to pick this load up. A skewed joist hanger was an option, but getting it secured was going to be a big challenge. Another option I considered a 45-degree transfer beam. that required me to cut back the hip rafter at 90 degrees and add a LVL running at 45-degrees from the top plate to the new beam. But, it would leave part of the roof sheathing unsupported.
Ultimately, I decided to just go with the skewed hanger. But the order of installation was going to be critical for success.
Here was step 1.

The hip is supported temporarily with a new post and the top plate and the hip rafter are cut away. The skewed joist hanger is in position, but not secured.
Simpson now makes structural screws for installing structural hardware, and they are a lifesaver. It took some creativity, but with one of these offset drivers, I could reach into the dead space between the roof sheathing and the stucco soffit and get the screws into the back side of the hanger. (Side note – why didn’t these screws exist when I was building houses back in MN? They are so much easier to install in tight spaces than hanger nails!)
At this point, I am ready to slip the beam into position.
Once installed, it looks like this:

The beam is in and the new 4×4 post is supporting it. I just have to get the screws from the hanger to the beam to support the hip. Hmmm…
As you can see, I have access from this side, but the rafter tail that supports the eaves/roof/soffit is blocking the other side.
My solution? Access holes!

By lining up the holes in the jack rafter with the corresponding holes in the joist hanger, I could use a long extension bit to drive the screws from the hanger into the new beam.
Here’s the bit in action!

The holes lined up perfectly and the process worked perfectly!
The three holes will do very little in terms of weakening that 60-year-old Douglas fir rafter tail, as it is only a short section and just has a bit of roof and soffit load to support. So I’m feeling pretty good about that working so well.
Next time we should be wrapping up* the interior framing. Stay tuned.
*At least as far as I can take it without getting my plumber here to rough in the new master toilet. Which is a whole other story.

I think you inherited some creative genius from your Father! Smile!
LikeLike