
Since I was going to the trouble to fix the floor structure and plumbing, I ran in new wiring as well. Mainly, this consisted of replacing the old 2-wire, cloth-wrapped cables with new Romex. We moved the location of the sink receptacle and made it a 2 gang, something I typically do now. It seems that every bathroom had endless plug-in appliances, so having two receptacles provides enough space for all the electric toothbrushes, face cleaners, hair dryers, curling irons, etc.
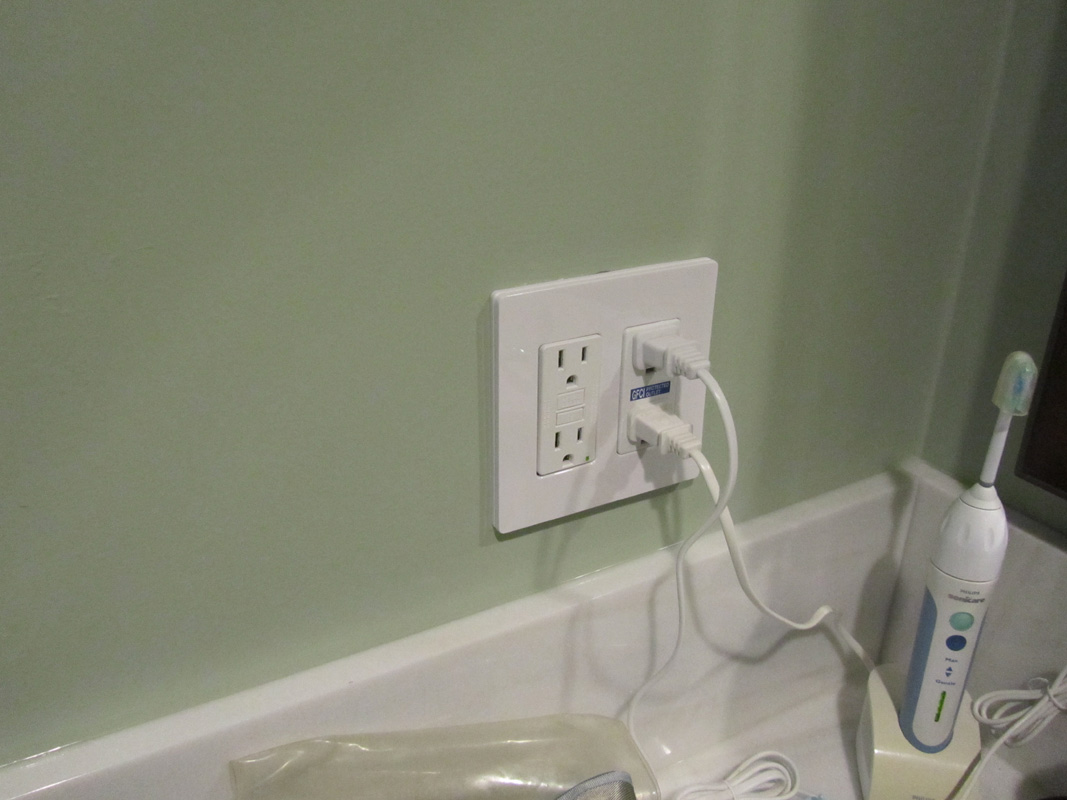
Plenty of space.
I also added a new exhaust fan and ducted it to the outside. The house probably didn’t have fans originally, and when they were retrofitted, they never did a roof penetration for an exhaust, so the ducts were simply “steered” toward a soffit vent and left there. In other words, venting moist, warm air directly into the attic.
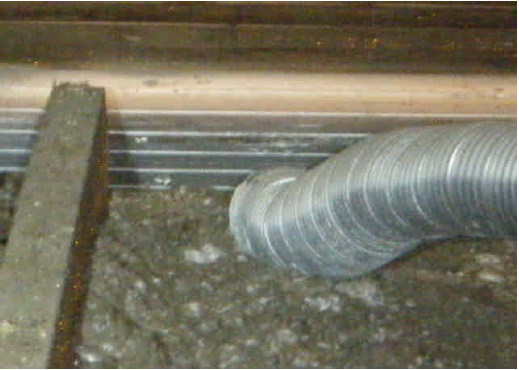
The duct to nowhere…
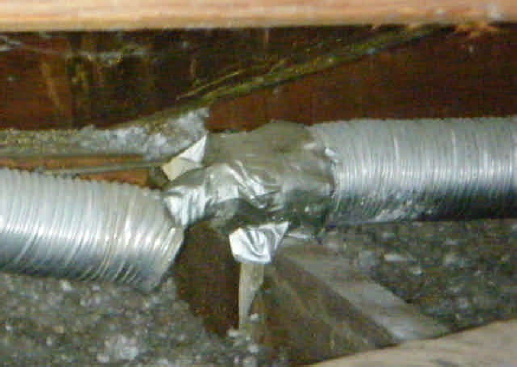
Duct tape is inaccurately named.
These are the pictures that our home inspector took before we bought the house.
I really like the Panasonic recessed light fans. They are quiet, easy to clean and look much better than having a big square grille on the ceiling. I opted for a LED model. The only thing that sucked about it was getting it to fit in the ceiling. This house has a low slope roof, so when you get close to the eaves, there isn’t a lot of headroom. There was room for the fan, just not for my 6-foot frame crawling around in the attic.
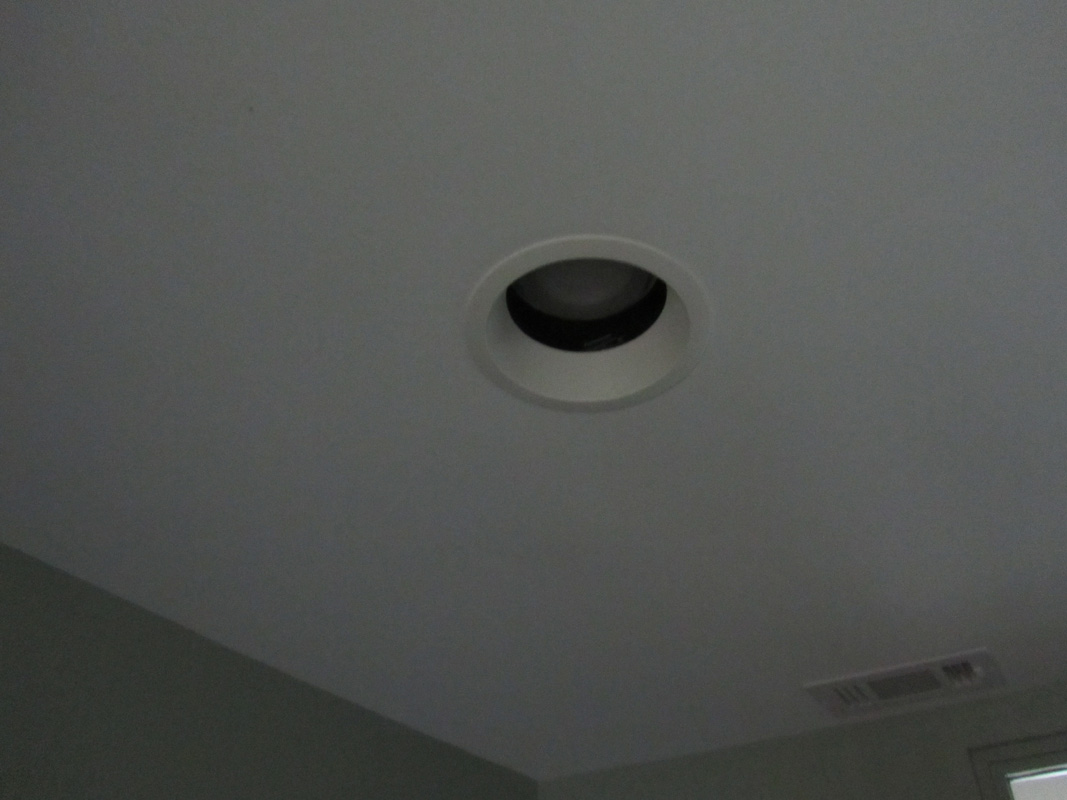
Installing it was not fun, but the end result is nice and clean. And you can barely hear the fan run.
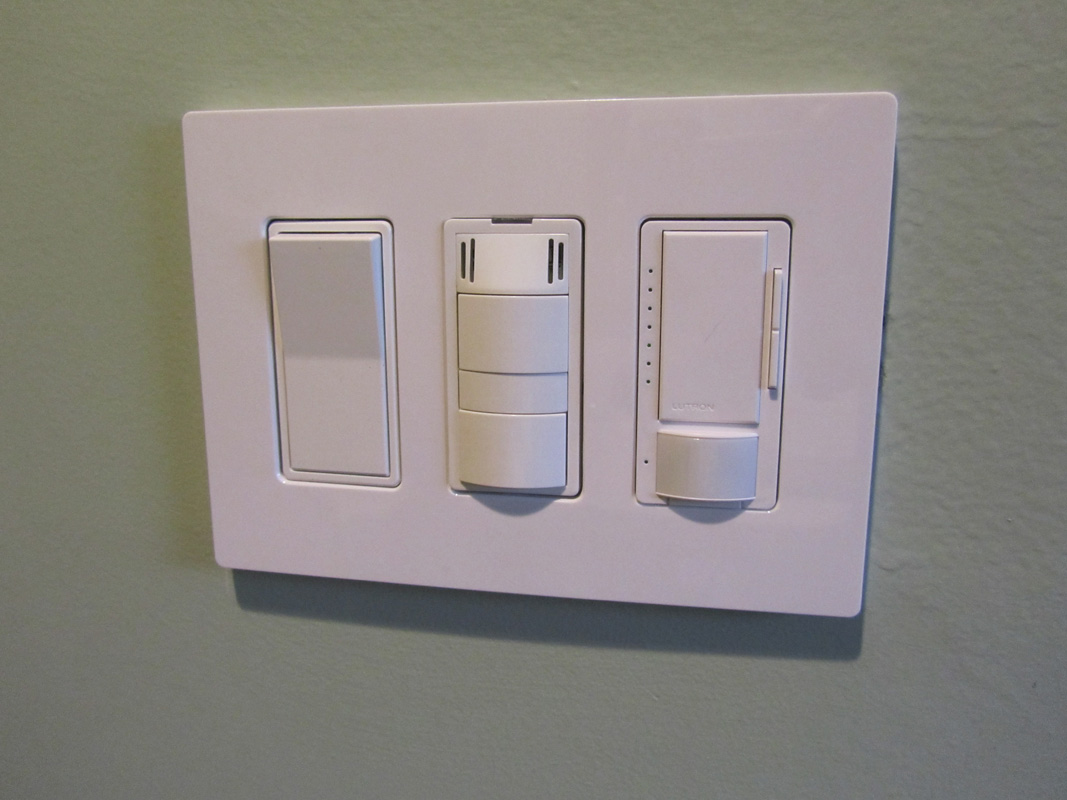
The middle switch is the fan. One button for the fan, one for the light. The slots in the top are for the built-in humidistat that turns the fan on automatically when the switch senses a rise in humidity.
We also put a small recessed light in the shower, which has to run off the load side of the GFCI at the vanity. Finally, I installed a light bar for over the vanity mirror to finish up the wiring.
Now I was ready for drywall repair and tile. There’s not much of a story to tell with the drywall repair.
The tile however, is a big story. I actually thought that I could fit it into this post, but I think now that it really should stand alone, so I am going to stretch this post out to 4 parts. Sorry if you were waiting with bated breath for this project to finish up.
