
we’re going to wrap up the bathroom! Let’s see, we’ve got the lighting in and the fixtures selected. Time to start on the tiling. After keeping an eye out for a tile saw on Craigslist, I ended up just buying a DeWalt tile saw on Amazon. I compared the cost of it to renting a saw to complete three bathrooms, a kitchen and a laundry room and decided to just make the purchase.
I got started in the shower, since it was the most complicated area. Eve selected a 12 x 24 white tile and we ran it in a vertical brick bond (or subway) pattern. First, though, I had to set the shower pan and get the waterproofing in place.
This is the second project I’ve used Schluter Systems Kerdi membrane on and I am sold. This was the first time, though that I tried one of the pre-formed shower pans and I found it to work nicely in this application. I ordered a 32 x 48 and just cut it to fit. I also purchased one of the pre-formed shower niches for soap and shampoo.
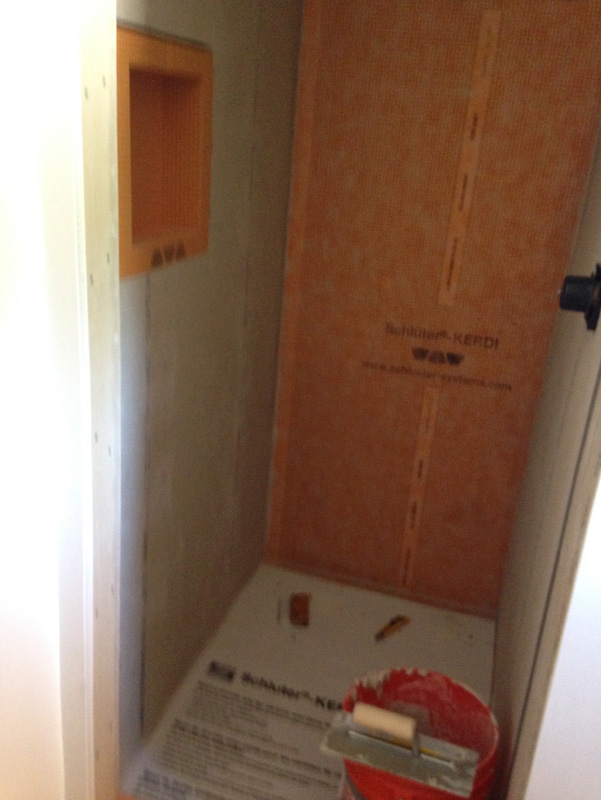
The system used a fleece layer bonded to a waterproof membrane. It gets adhered to the floor and wall with unmodified thinset, the same thing used to set the tile.
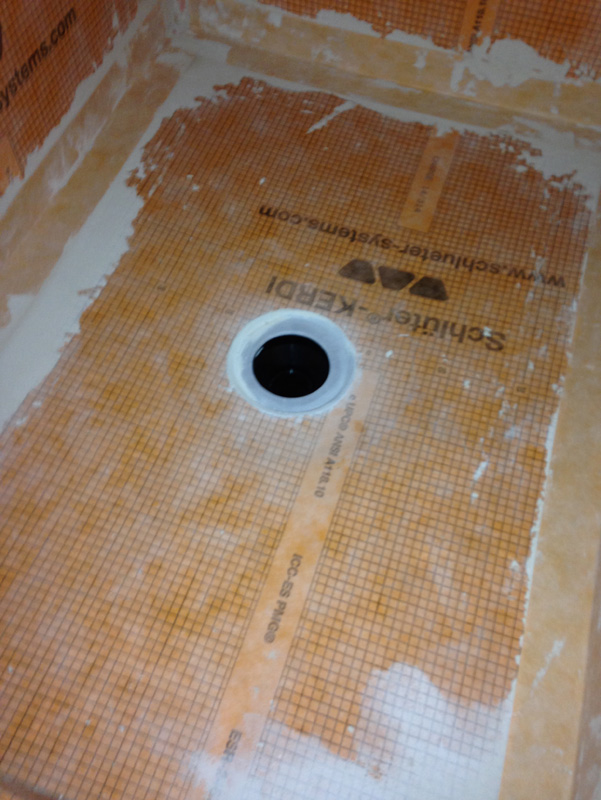
The proprietary drain sets into the shower pan and the fleece lays over the top. A 2-inch overlap is all that is required for waterproofing.
With all the Kerdi in place, I was ready to get started on the tile. We chose a 2 x 2 slate for the floor. Unfortunately, it was very low quality. The individual tiles on the sheets of mosaic varied in thickness by as much as 1/4-inch. So i ended up peeling all the backing off the tiles so I could set them individually.
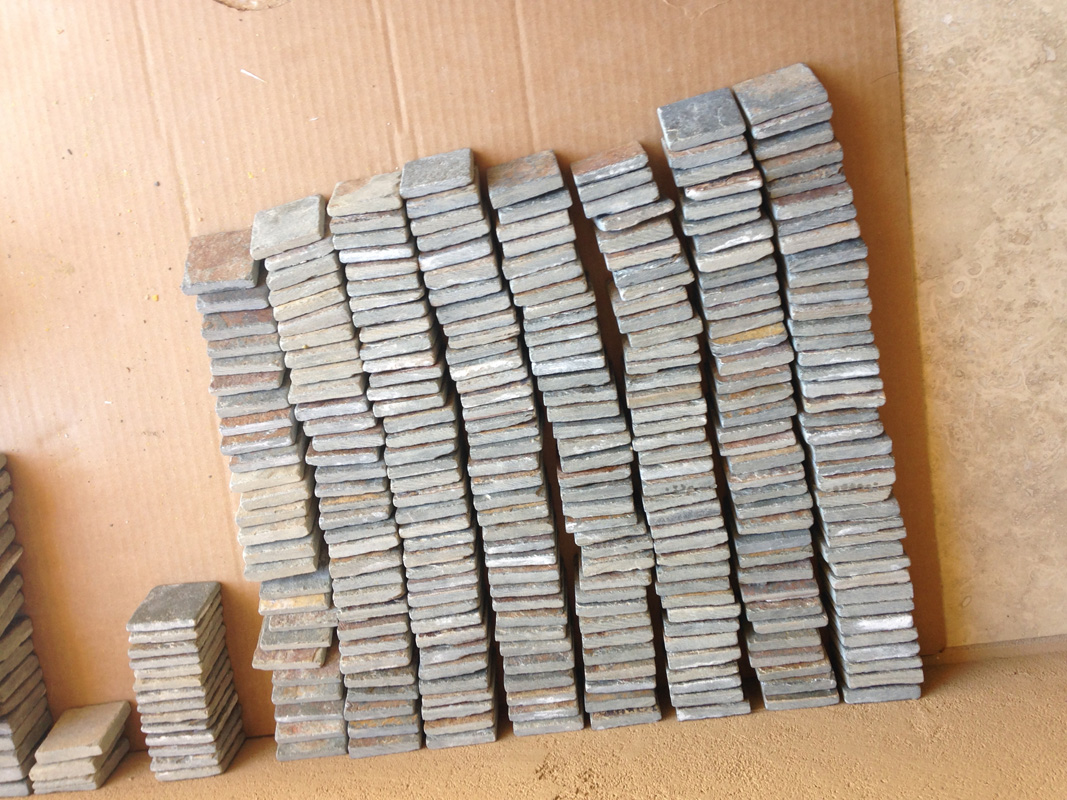
Sorting tiles by thickness.
This was only about a 12-square-foot area, so the process really didn’t add too much time, and the end result was worth it. Having a low spot in a shower floor is an annoyance for sure, but also good for stubbed toes.
Once the floor was set, I started on the ceiling. Eve found this great glass tile that looked like bubbles in a sea of foam. It was not cheap ($35 per square foot) but for such a small area we decided to splurge. I laid it out on the floor, then set it on the ceiling once I had the pattern right. The backing on this tile was really stiff, so setting the tile was very straightforward.
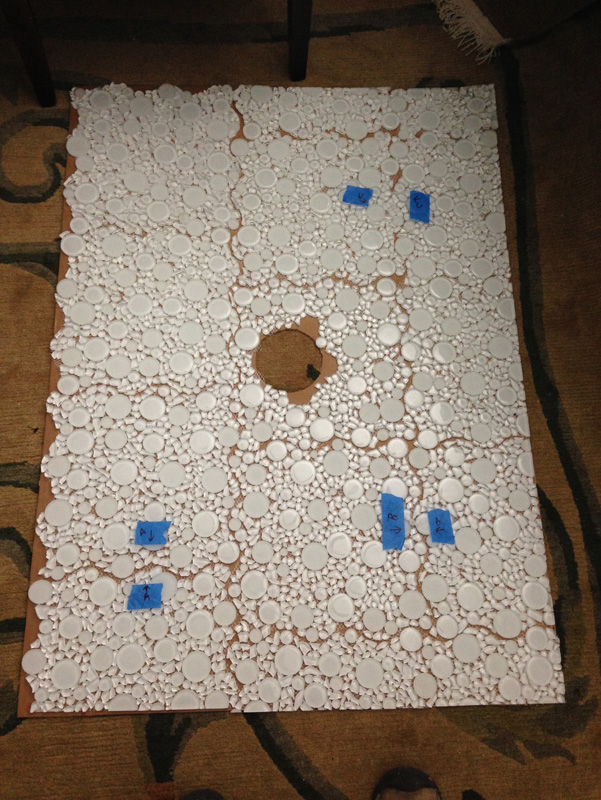
The joint lines are really visible, but the manufacturer sends a bag of mosaic chips to fill in some of the gaps and it helps make the lines disappear.
Next I moved up the walls. The with the large format tiles, the process went fast, the only real challenge was making sure that the first course was absolutely level and plumb.
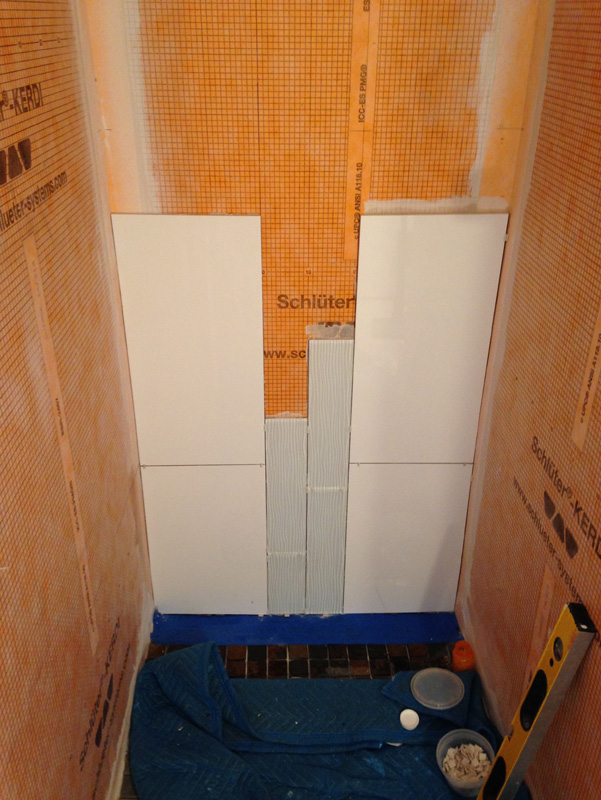
Getting started.
The glass tile “waterfall” was only about 1/4-inch thick compared to the nearly 3/8-in thickness of the white body tile, so it took a bit more thinset to get them to finish flush.
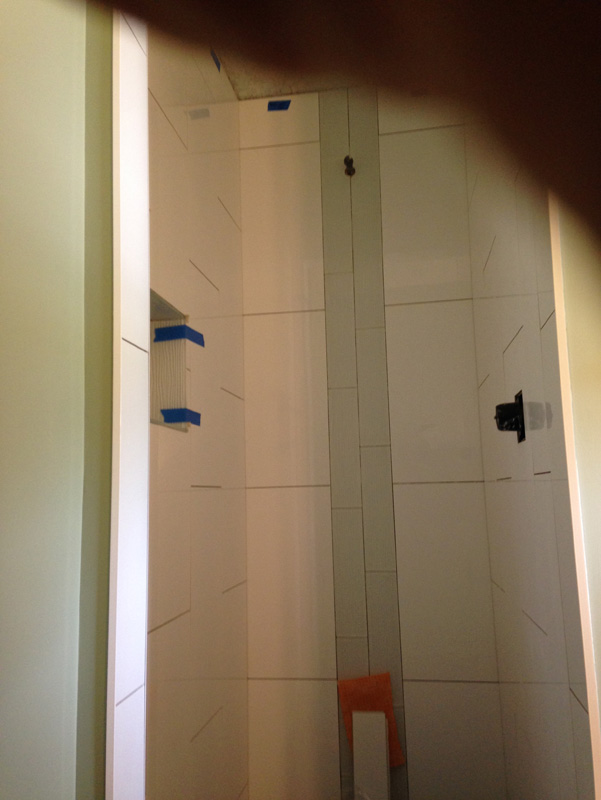
Ready for grout.
For the spots where the tile would have edges exposed, I used Schluter Jolly edging. It gives a perfect and clean look.
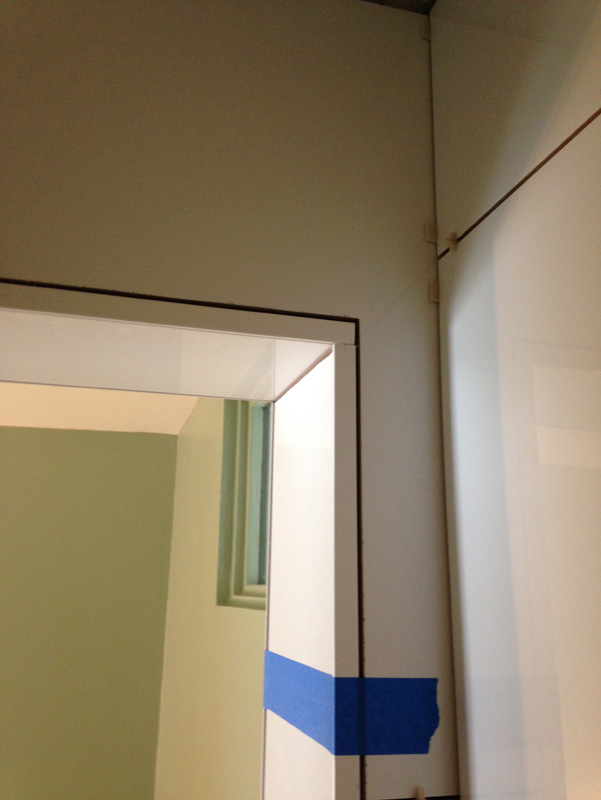
Here you can see the tile set into the edge profile. Grout makes it nearly disappear.

The finished shower!
The final tile project in this bathroom was the floor. Again, I turned to Schluter for its Ditra-Heat product. A mat is bonded to the floor with thinset, then the heating wire is run through the studs in whatever pattern works best for your space. The system requires a lot of electric testing, before, during and after installation to be absolutely sure that the wire insulation is not nicked or cut in the process. Aside from that, it really is pretty easy to install. I will do a separate post on this system in the future, as we will use it again in the other bathrooms.
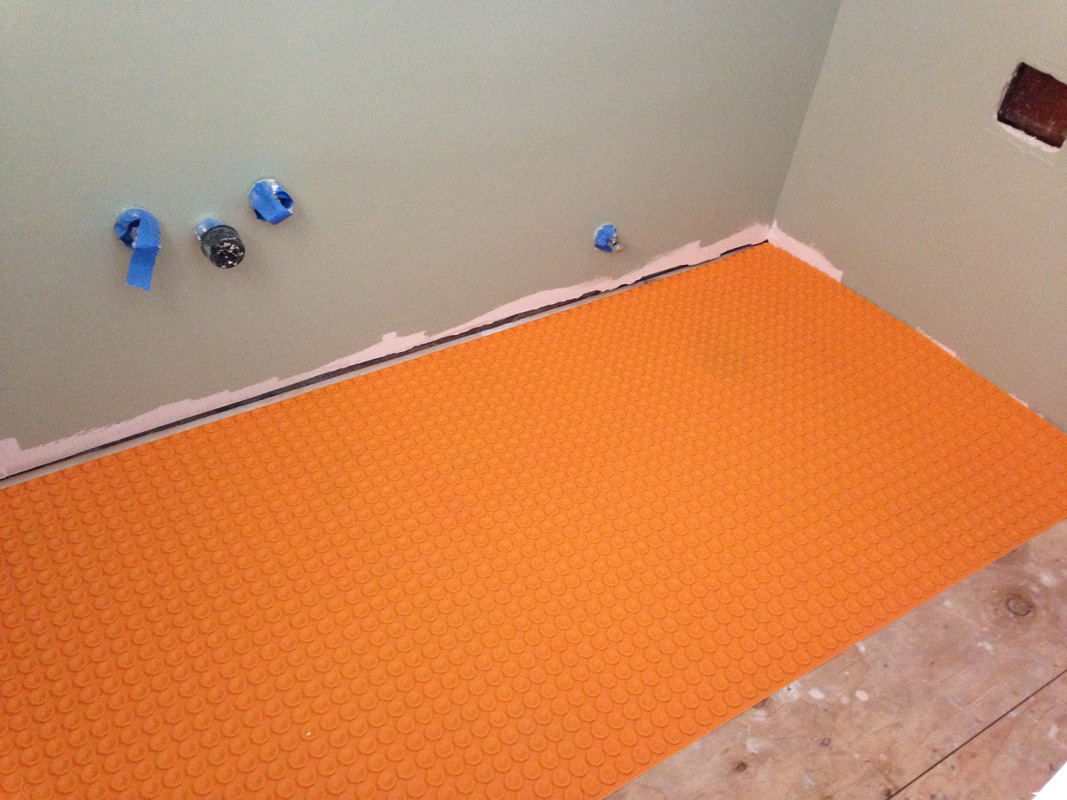
The first piece of heat mat set in place.
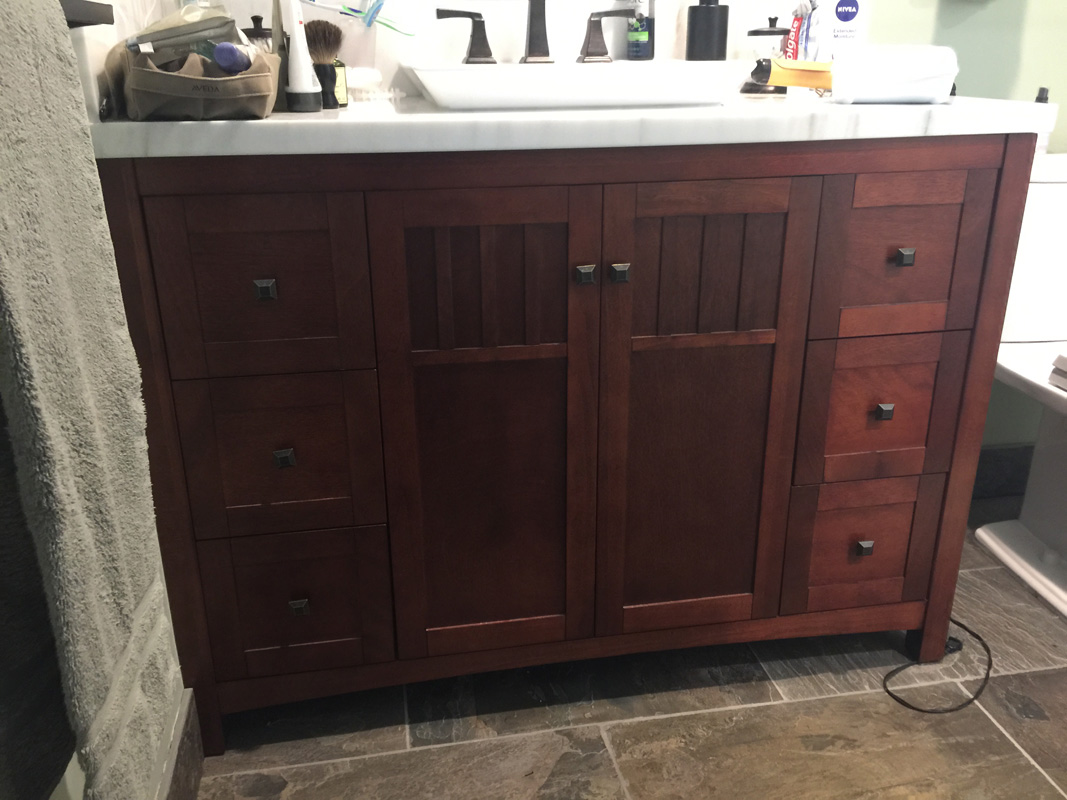
Eve found a vanity she liked online, and after she picked it, I got a random e-mail from the vendor that it was 50 percent off, so we bought it and had it shipped to the house. I had to do a little work on it because it was really intended to be a free-standing piece, not set against a side wall. So there was some scribing to do to meet the plaster walls, which were definitely not flat. Unfortunately, I don’t have any pics from that process. Here it is installed.

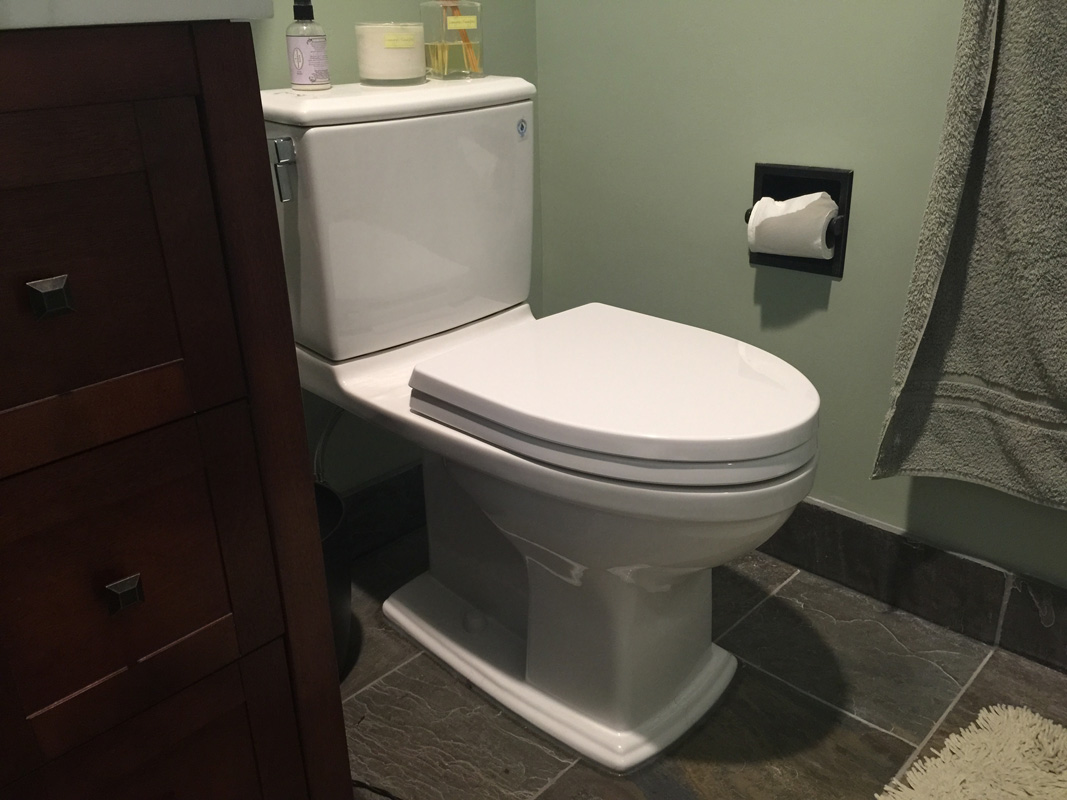
Same goes for setting the toilet. I think at this point, I am just wanting to get this bathroom wrapped up…
If you care, we selected a Toto dual flush toilet (.9 or 1.28 gallons per flush) that is a good blend of modern and classic. It’s comfort height/ADA compliant and we get a rebate from our water company for because of the water conservation.
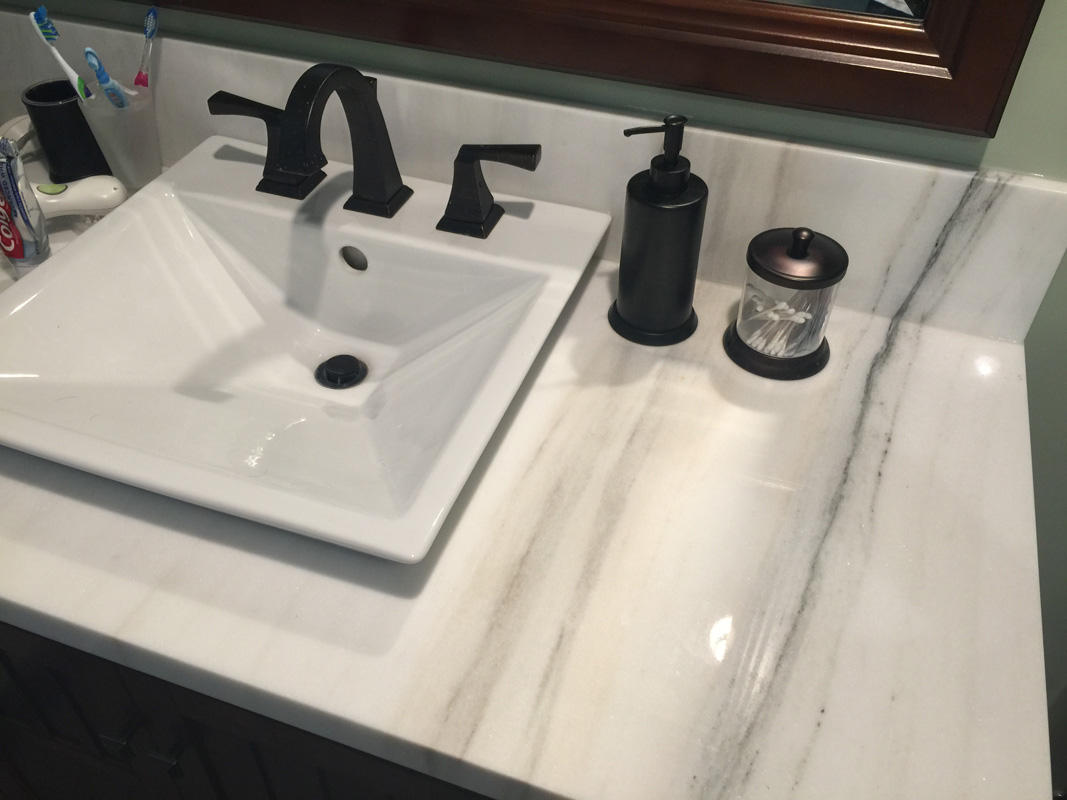
 We hit a few granite shops looking for a remnant top and found this great marble top with streaks of brown, gray and green that match the slate perfectly. We picked this Toto semi-recessed vessel sink so the whites of the sink and toilet would match.
With this bathroom now functional, we could go ahead and tear into the “major” remodel of the bedrooms and other bathrooms. We’ll start into that in the next post.

I saw this bathroom first-hand and it looks fantastic.
LikeLike
Beautiful.
LikeLike
You do such phenomenal work! And Eve wins the award for finding beautiful everything! Smile!
LikeLike