
OK, where did I leave everyone hanging. (And sorry for the time between posts, I had a deadline on a communications project that ate up most of my time over the past few weeks.)
Let me think.
Oh, yeah. Concrete.
Well, today this project starts with…
…wait for it…
…MORE CONCRETE!
Yep, the thing I am getting super tired of rears its ugly head again.
In order to create the “Room With A View,” I need to close off one of the crawl space access points in the foundation. It lands smack in the middle of the doorway leading out from the master bedroom. Since we are putting a low deck off the master to take advantage of arguably the best view of Santa Monica Bay that we have from the house, it had to go.
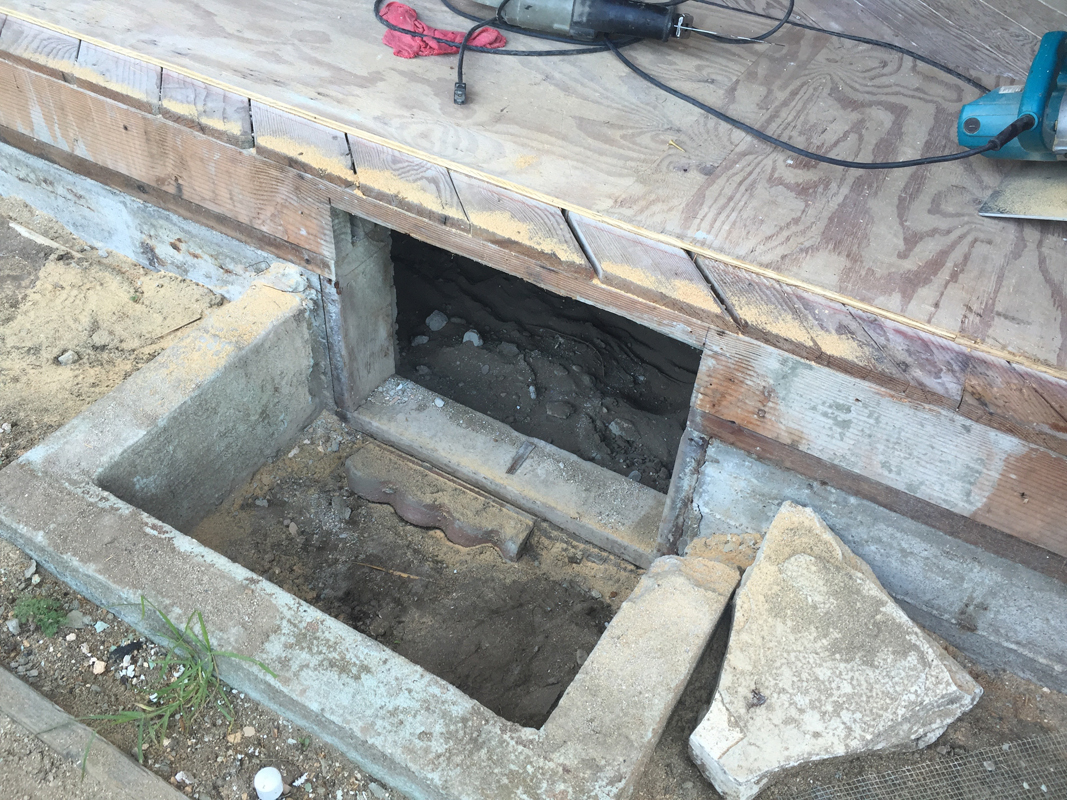
With a heavy new door going in above, and a deck making this access point essential inaccessible, The most sensical thing to go was close it off.
Once again, I was making forms. Fortunately, in this case, I already had a footing in place, so I just needed to fill in the concrete cutout. I started prepping the opening. The first thing I did was cut back the sill plate so the new one would bear across the old and new sections of the foundation. That’s when I came across the first surprise. All the original sill plates on the house are 2×6 redwood.
One advantage to the vast redwood forests in California, the lumber is easy to come by. So much so that it was common to use it for structural lumber where wood meets concrete. This is due to its natural insect and rot resistance. Today, we used pressure treated lumber for this job and save the redwood (and the money) for the places we want to look really pretty.

Wow, redwood sill plates! Pressure treated not too common in these parts apparently.
Now I could start forming everything up. I had scrap plywood laying around from various projects and the other concrete pours, so I just used that. I epoxied in a couple lengths of #4 rebar too, just to be sure. The inspector never looked at this specifically, but these photos should suffice if he has any questions.
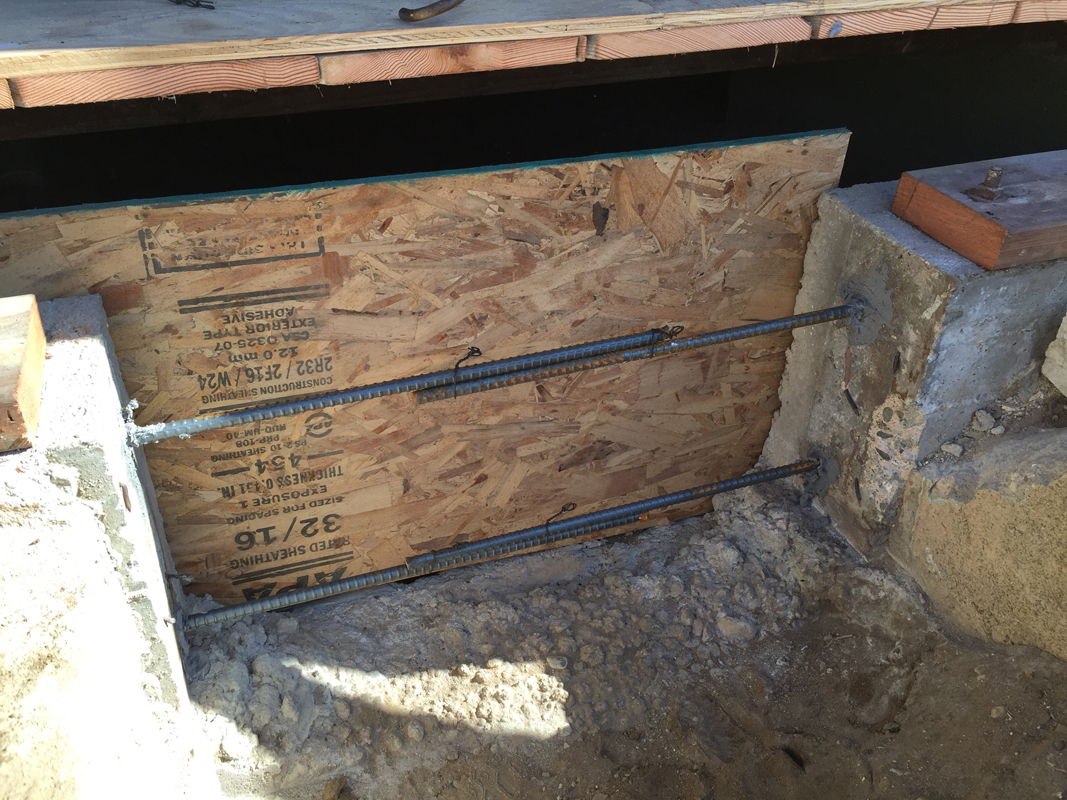
For the inside of the form, I just used some OSB and held it in place with a couple stakes so it wouldn’t bow out.
In the front, I had this nice, overbuilt concrete curb to use as an anchor point. I just cut the plywood to fit and wedged in some 2x4s to hold it. After I broke down the forms, I smashed out the concrete curb, too.
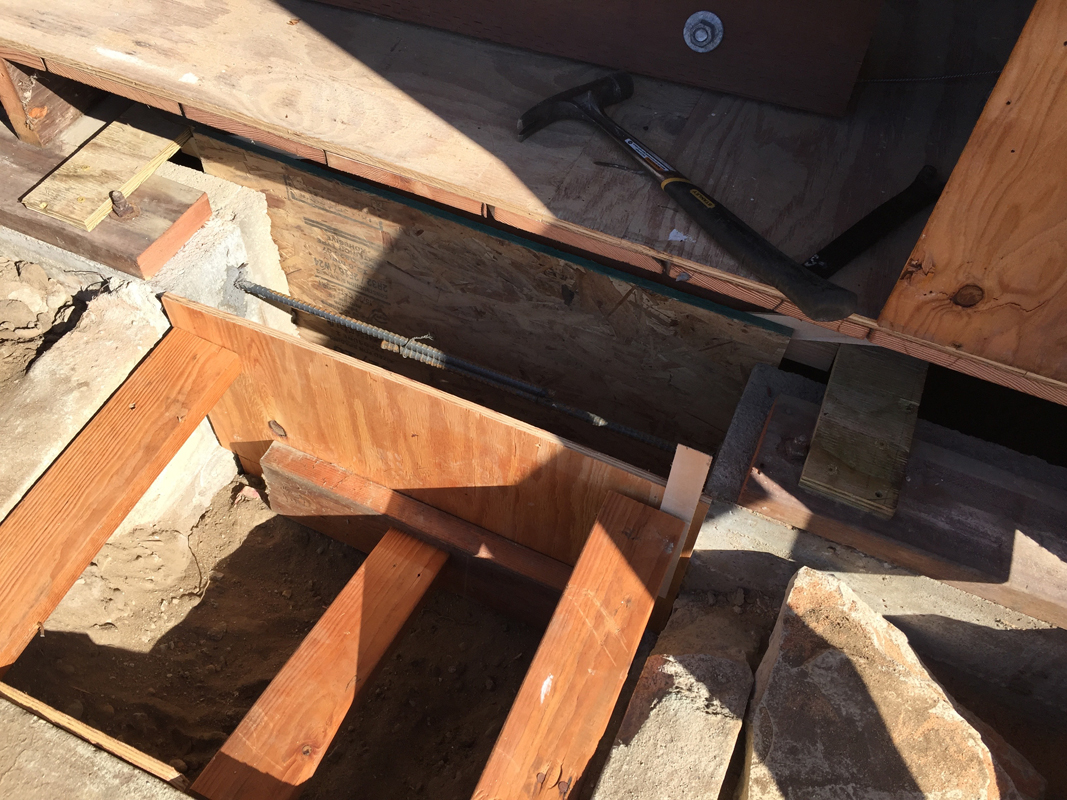
Ready for concrete.
I even predrilled the new sill plate and set the anchor bolts ahead of time. To make life easier. Normally we locate the sills over the preinstalled anchors, but for a short section like this, this was a little easier.
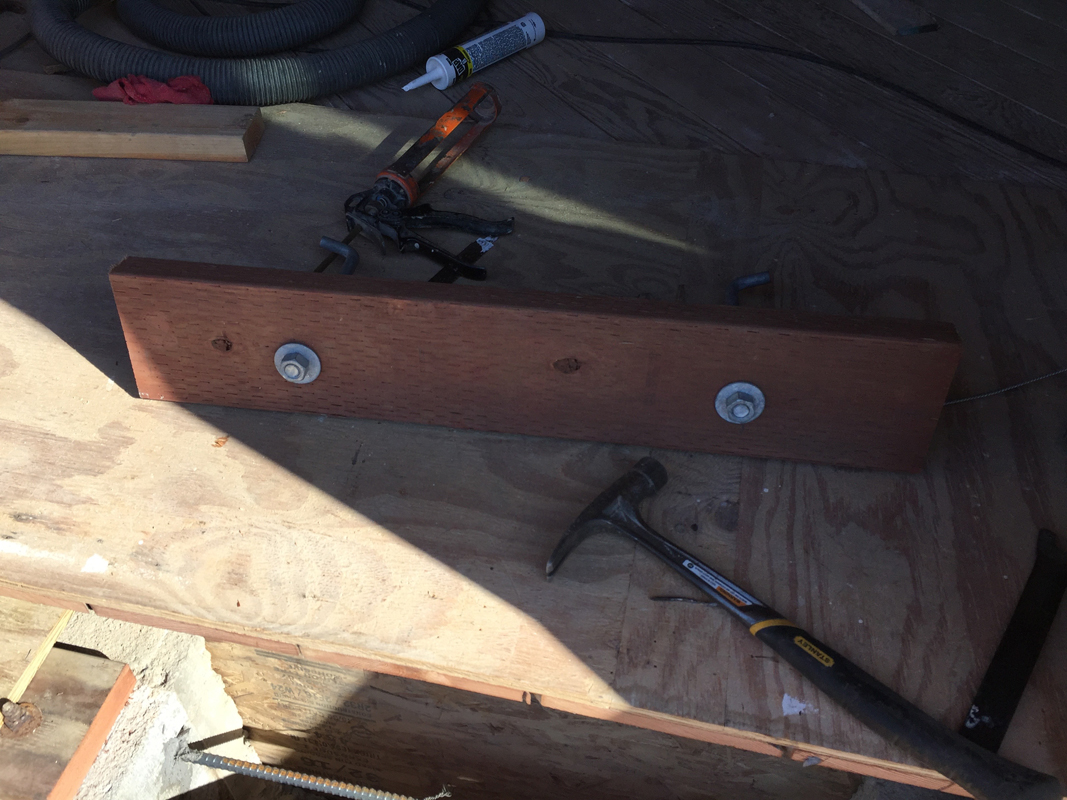
The new sill all ready to go.
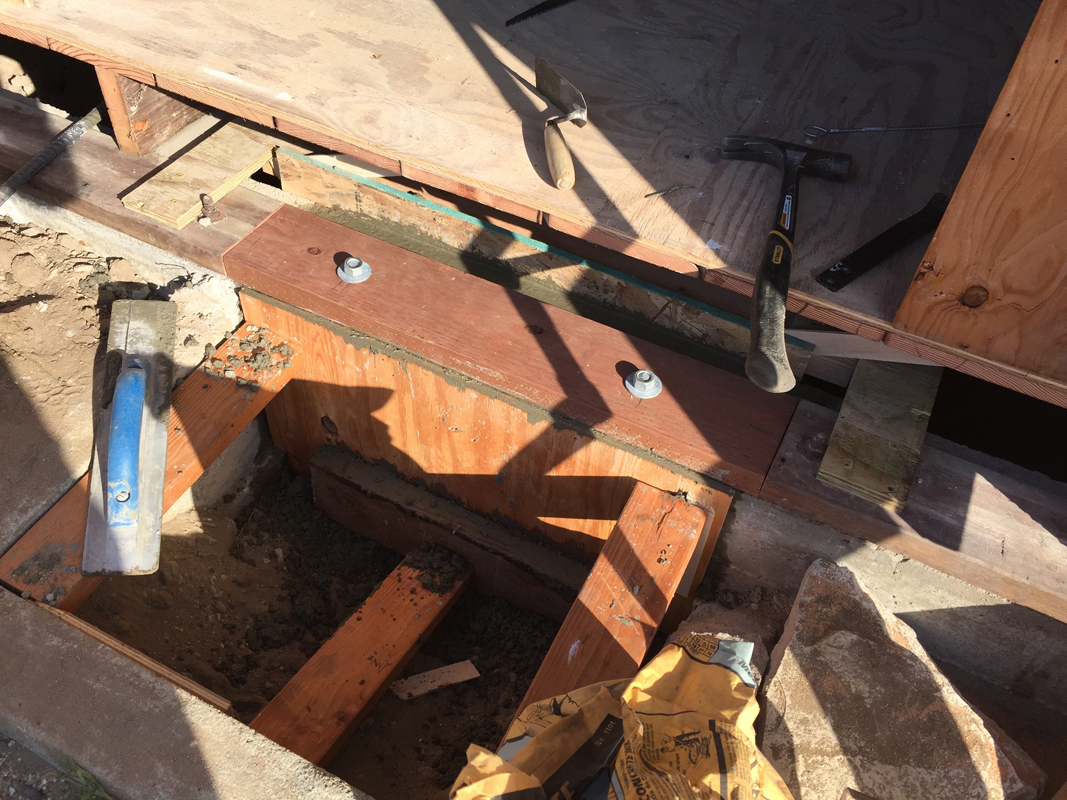
Concrete poured and the sill temporarily in place. After the concrete cures, I can remove the wood, and add some sill sealer before finally tightening the anchor bolts.
This pour only took 3 bags, so it wasn’t too bad. And now I am finally ready to get moving on the opening for the new door.
