
I’ve been waiting to get going on this door project for a while, but it seems like there is always some other thing preventing me from actually starting . First, I had to get the framing done. Then I had the interruption with the demolition guys.I didn’t want to install the door when there was potential for damage, so I thought best to wait. Next, the plumber and HVAC company set me back a couple days. But over the past two weeks I finally got the opening prepped and the door in. It was quite the journey.
THE FRAMEWORK
The first thing I had to figure out was how I was going to make this door fit. The actual rough opening was not a problem. I already had the header installed and the studs set. The challenge is that this house has 2×4 walls, so with stucco on the outside, and drywall on the inside, total wall thickness is about 5 inches. (1-in stucco, 3-1/2 inches framing, 1/2-in drywall) I added a layer of 1/2-in plywood on the outside, to get the overall to 5-1/2.
Well, this door frame is 9-1/2 inches deep. So it was either going to project into the room and look dumb or project to the exterior and look dumb. In talking with my brother — and our designer — and an architect friend, I decided it would look the least amount of dumb if it projected out and we created a pilaster on the sides of the jamb.
Once I had a plan, I had to do a bit of modification to my opening. I started by replacing the 2×4 trimmer studs with 2x10s. This gave me a starting point to begin figuring what this was going to ultimately look like.
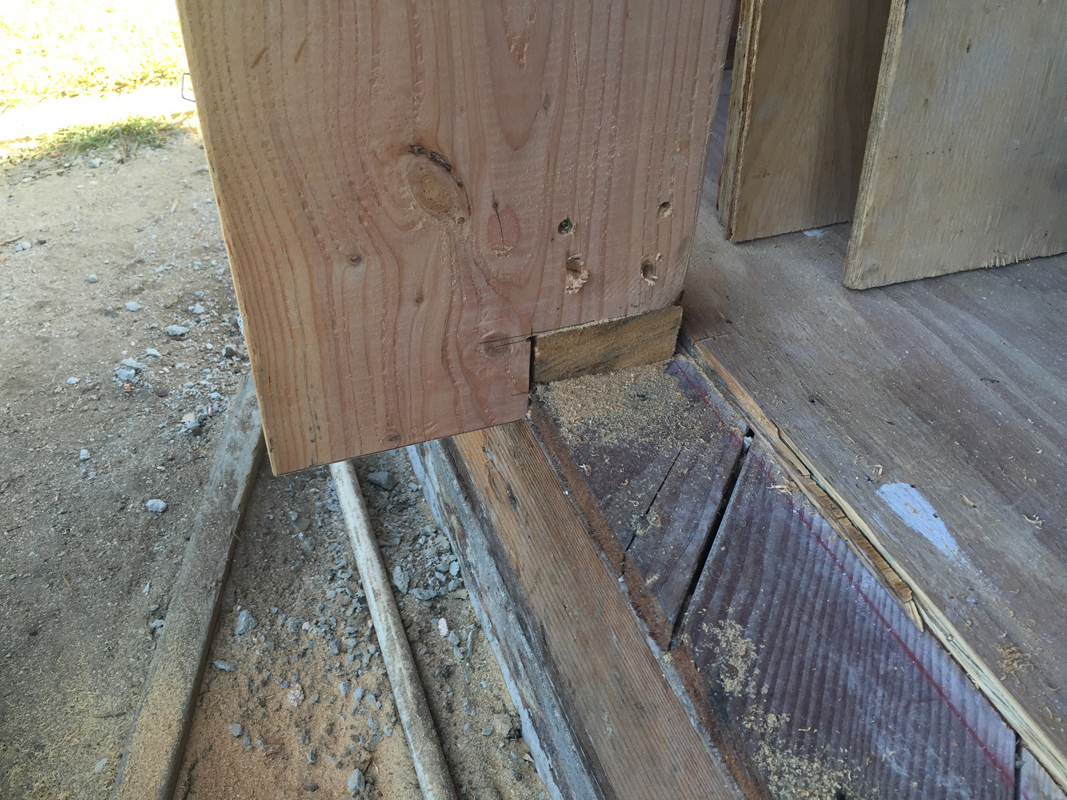
Notching the 2×10 lets it drop on the exterior to catch the projecting sill that I have yet to build.
The next thing I needed to do was figure out how the finished floor would meet the sill of the door. so I started doing a bit of math. This revealed the first challenge. When I ordered the door, I specified the weather resistant sill. The door faces west and we’re just 2 blocks off the ocean, so I knew that when it does eventually rain, it will most likely be wind-driven rain from the west. What I didn’t know was there there are three different heights for the weather resistant sill. I had done my initial math from the manufacturers technical drawings, thinking I had the lowest of the three. But when I actually opened the box of hardware, I actually ordered the tallest of the three. I didn’t want that big thing to step over, so I decided to lower the framing under the door so everything would finish as close to flush as possible flush. The interior hardwood, the sill and the deck will all be within a quarter inch of each other when this is done.
Of course, perfection and desire have a price. It meant I needed to reframe the sill opening completely.
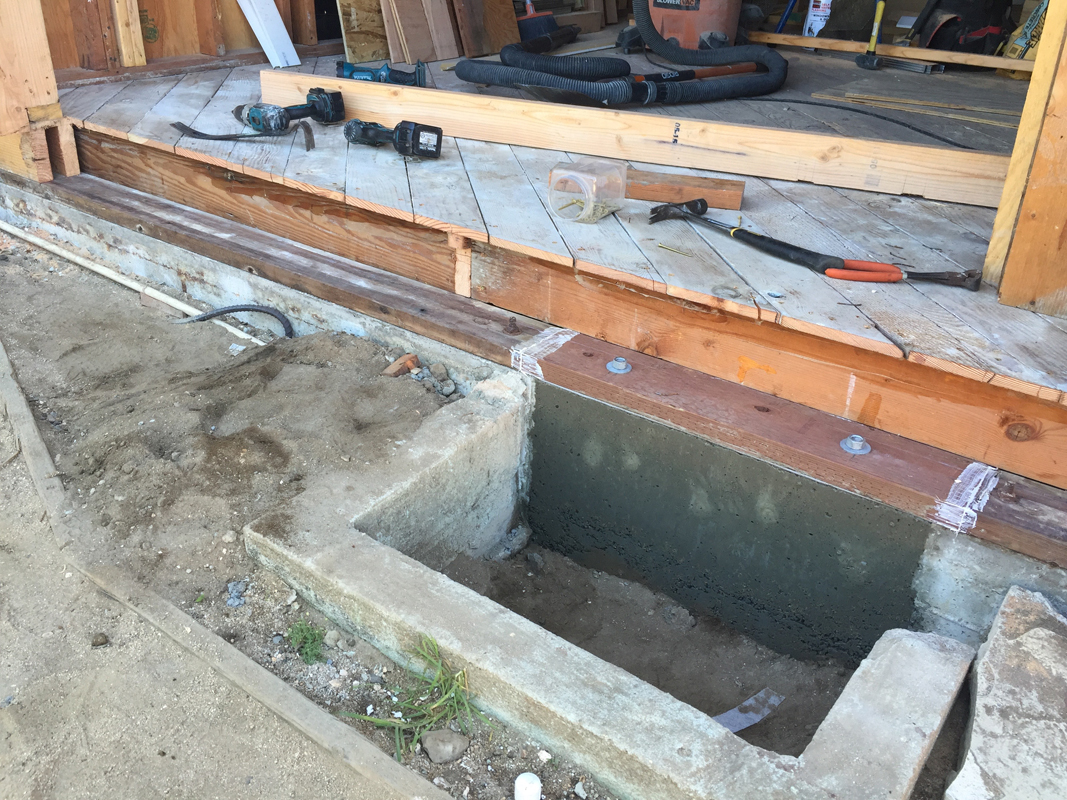
Starting the process of lowering the doorway. I’ve got the 2×6 floor joists in place that are supporting the existing subfloor.
At this point I need to establish my height for the “lowered” subfloor and build in the framing. This was easy, it just required ripping down two 2x6s to 4-1/2 inches.

These 2x6s rest on the sill plate and will support the weight of the door. They are just not quite deep enough.
Here I hit another snag. I need to get the door sill extended out from the house. Typically, I might try a cantilever here, but in this case, that would have meant tearing out a lot more of the existing framing. Since we are adding a deck, I decided that I could use the deck framing to support the outer edge of the sill. It will require careful flashing, but it will work fine. So I had to halt progress on the door frame to build the deck.
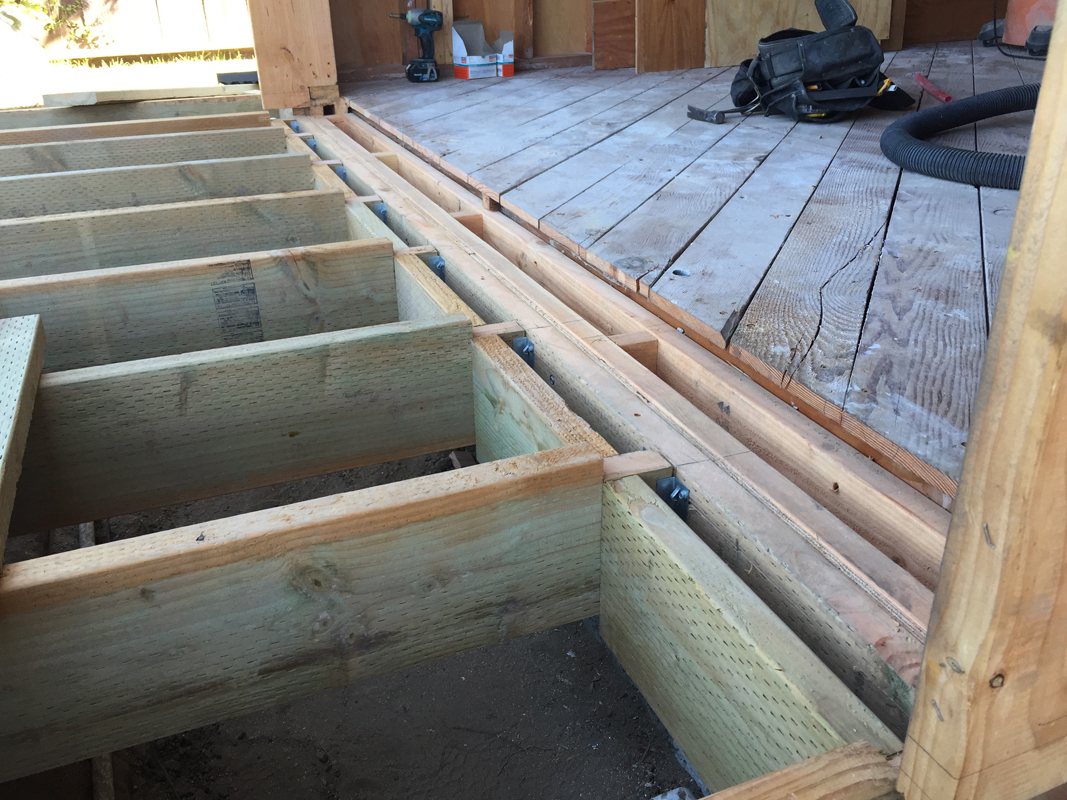
The ledger of the deck is bolted to the house, and the joists have a little notch at the end for the door sill to drop into place.
The deck required careful layout to get the elevation correct and I had to know what material I was going to use for decking, in order to set the height, but it is dead level and is going to look killer when it’s finished. The solid blocking between the joists stiffens the assembly and provides a drainage plane for the flashing detail that will come next.
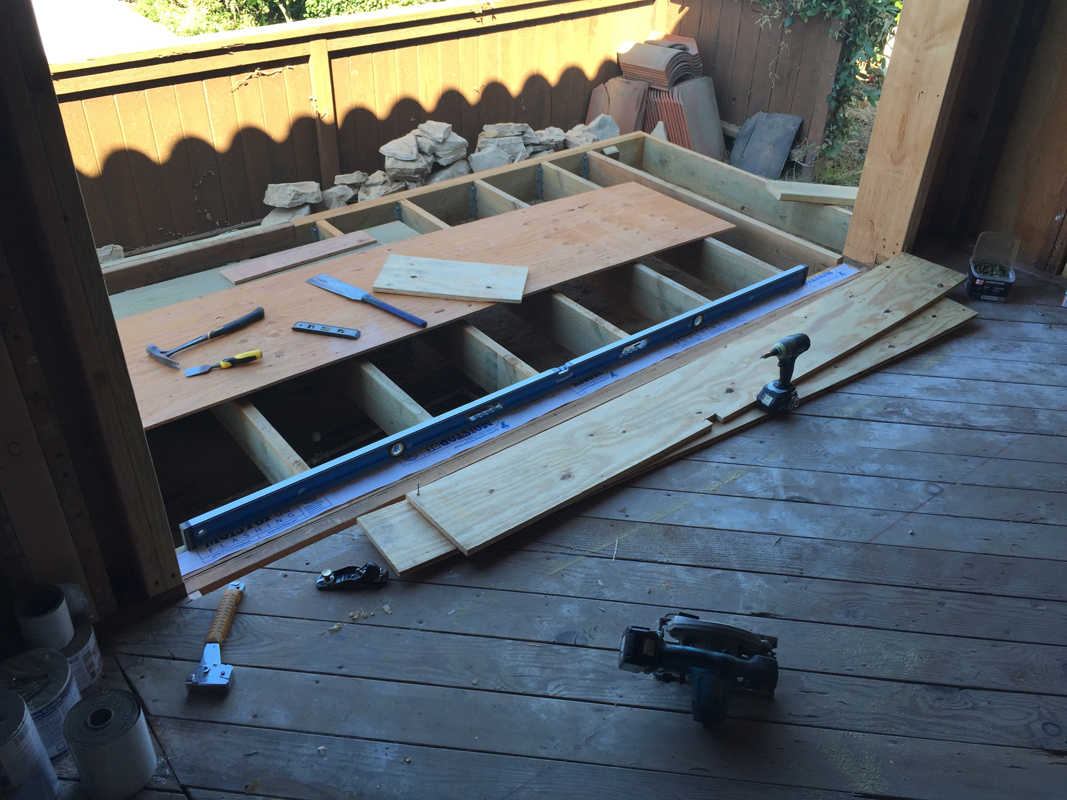
The view looking out. I’ve got the framing level and am ready to install the plywood subfloor.
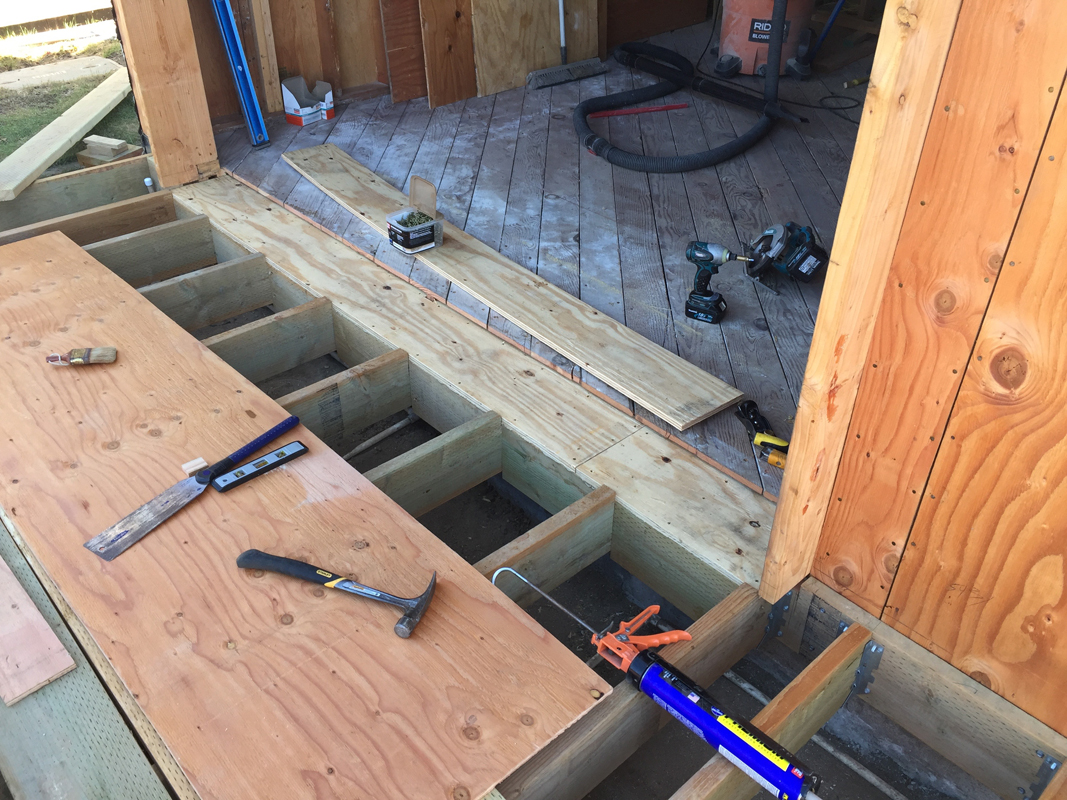
Plywood glued down and screwed in place. Now the sill is ready for a some custom flashing work.
Stay tuned for Part 2: Setting The Door Frame.

Pingback: A Room With A View – Part 2: The Door Itself |·
Pingback: So…The Deck |·