
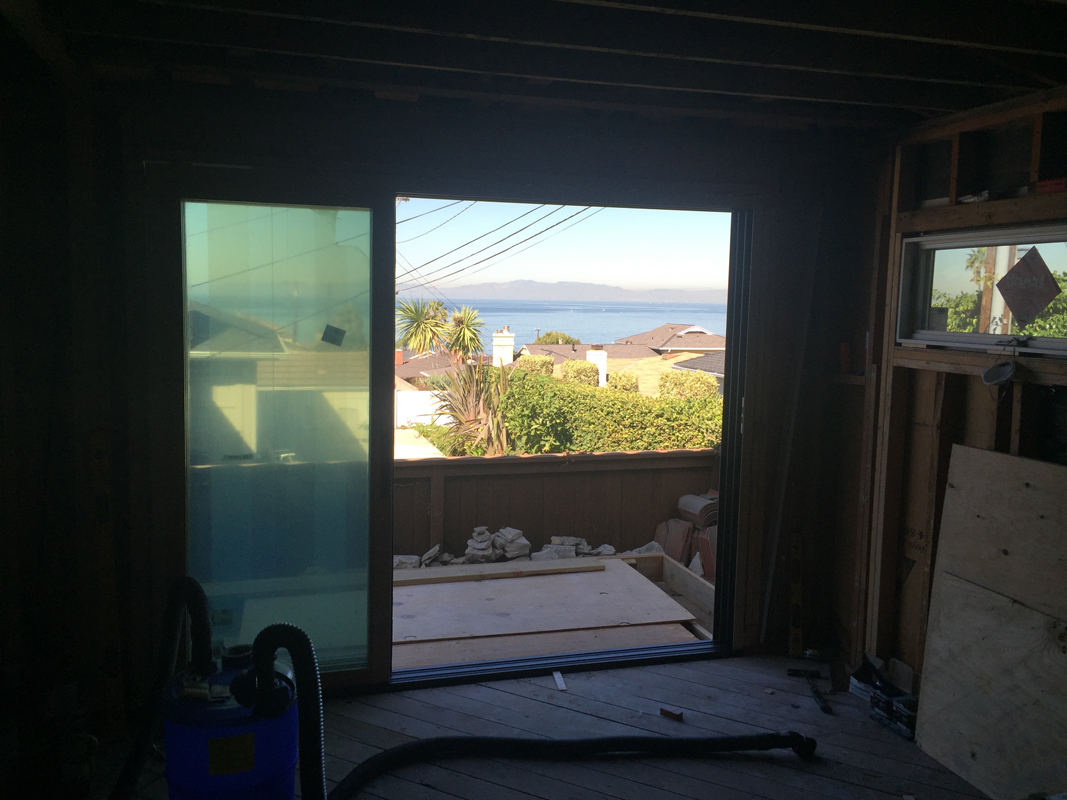
Across the rooftops of the neighbors below is the best view we have. Fortunately, or unfortunately, it’s from our master bedroom. This is great for summer evenings, enjoying a glass of wine and watching the sunset when the sun is shifted north and drops over Malibu late in the evening.
In the winter, the sun sets so early and so far to the south that we typically don’t even see it happen. The other nice thing is that this spot offers a mostly clear view of the entire coastline from Redondo Beach all the way to Point Dume State Beach at the tip of Malibu. We will have a view of all the beach cities, El Porto, Dockweiler Beach at LAX and Santa Monica from the new deck. Now, don’t be thinking this is some idyllic paradise. There are still have neighbors, other houses, yards and trees to contend with. It’s not unobstructed.
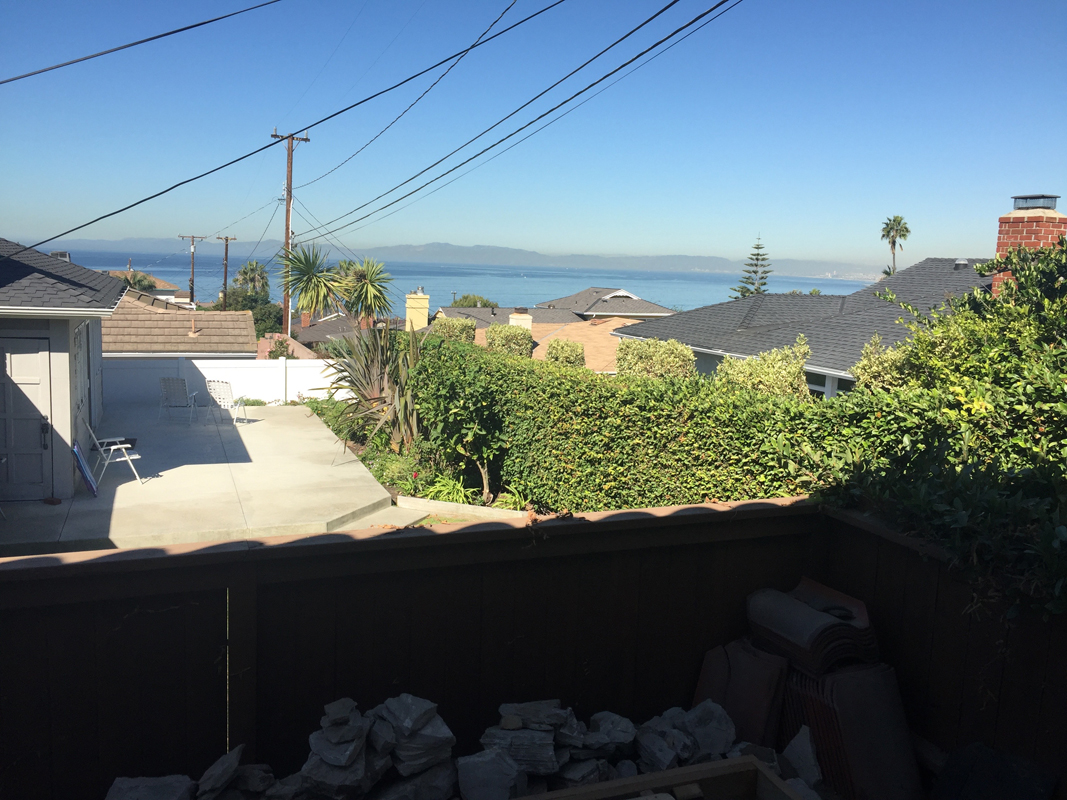
It’s a nice view, but it’s not exactly private or unobstructed.
Given all this scenery, we still thought it would be a good investment to put as big a door as possible in the master to take full advantage. I looked at options from Western Window Systems, NanaWall, Fleetwood and La Cantina Doors. While accordion style doors open the widest, we didn’t have a good spot for them to stack. There isn’t space in the bedroom due to the way we are going to position the furniture. And the deck is only 5 feet deep (really just a sitting porch big enough for a couple of club chairs) so we didn’t want to encroach in that space. Ultimately, we opted for a multi-slide door from La Cantina. We chose this system because it has a durable aluminum-clad exterior, with a thermally broken wood interior. Other systems were either all aluminum, or all wood. It is a high-quality door at a price that is slightly more reasonable than similar doors from other manufacturers.
The opening is about 9 feet wide, with three panels roughly 3-feet each. So when the door is open all the way, we get a 6-foot opening. That is a lot wider than a standard slider of similar width.
I already discussed the preparation of the opening in Part 1, so if you are interested in that, you can read it here.
The frame assembly starts by setting out the sill, head jamb and side jambs. A bead of silicone goes on the mating parts and then it slips together with some small plastic corner alignment blocks. These blocks proved to be a lot more challenging to line up and get started in both corners simultaneously than I had expected. If I had to do it again, I would start the blocks in both directions, then apply the silicone before pushing the jambs into alignment. At least this method would buy some time before the silicone started to cure.
The sill just screwed into the side jambs with stainless steel machine screws and more silicone. If you look carefully at the bottom of the picture below, you can see the custom sill pan flashing. It wraps up against the subfloor, and then wraps down the solid blocking between the deck boards. Once I add waterproof membrane over the deck joists, it should be pretty much impregnable.

The assembled frame, ready for install.
Once the door was stood up in the opening, it was time to get everything level, plumb, square and aligned. I took great care getting the opening level and plumb when I framed it, so I wasn’t too worried about that. But this is an old house in a high-earthquake area, so I was nervous about the alignment. But in the end, it was nearly perfect and required just the slightest adjustments to make it absolutely perfect.
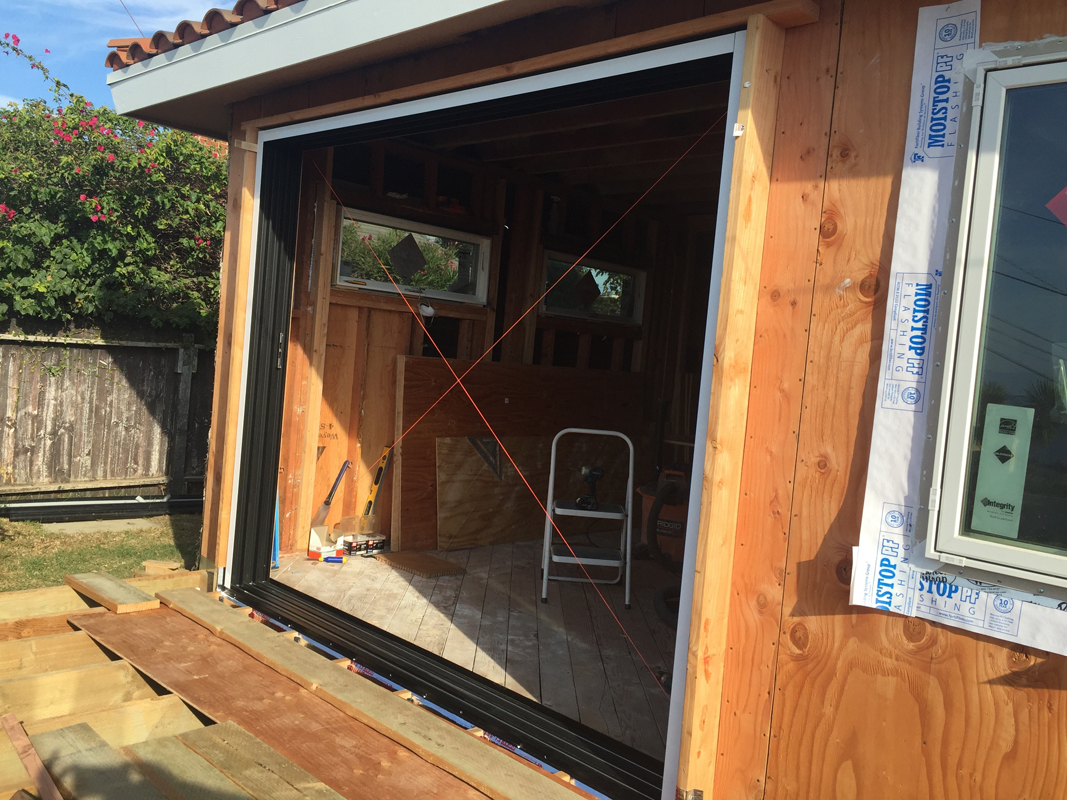
The early stages. The orange string is an indicator if the four corners are lined up. If the strings meet in the middle without one pushing the other out of place, then it’s all good.
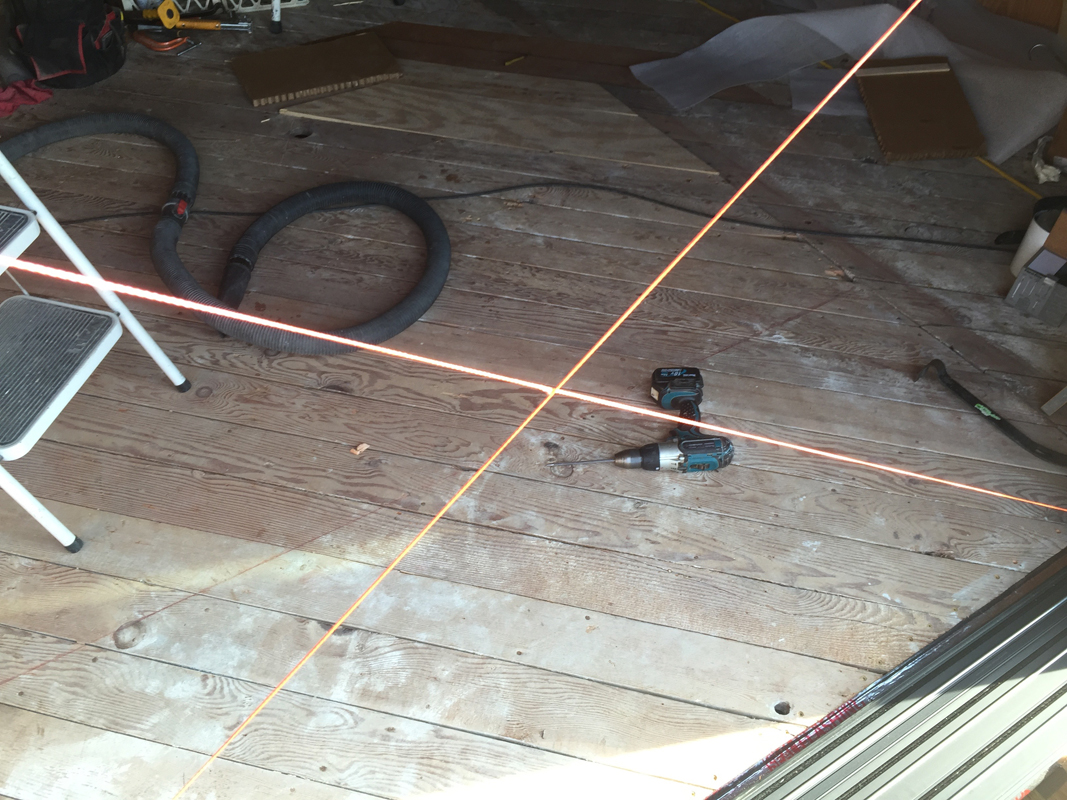
X marks the spot. And tells me that everything is lining up nicely.
With the door temped in place and held with a few tack screws. I went about adding shims to create solid blocking at all the screw locations. I think the frame took about 40 screws total between the sill, head jamb and two sides.
When that was done, we were ready for the doors. But of course, they couldn’t be installed until they had finish on the top and bottom of the doors. Since this is impossible to do after the doors are installed, I had to delay the install for a couple days in order to get a few coats of water-based polyurethane brushed on.
Finally, we are ready for the doors! This was a real challenge, because they are very heavy. The process for installing them is to tilt the top of the door into the track then lift, pivot and drop the bottom on its track. I could physically lift the door, but couldn’t also guide it into place. Ideally, you would have a person on each side of the door, but Eve was having a hard time with the weight of them when trying to lift them straight up. She couldn’t get a good enough grip. I even gave her some nitrile surgical gloves I use for painting to help give her fingers some better traction. After enough grunting and heaving though, we got the first door on the track.
Then we installed the second door. I kept looking at it because it didn’t seem to be fitting correctly. That’s when I realized we had it installed backwards. So we took it out and tried again. After spinning it around so the wood was on the interior, we noticed that we had to get it inside the jamb of door number 1. The only way to do this was to take it out again, slide it over so it captured the weatherseal of door number 1 and try again. Finally, we had success.
Learning from our mistakes, we moved on to door number 3.
Wood to the inside?
Check.
Lined up to the inside of door number 2 weatherseal?
Check.
Door number 3 went in without a hitch. (Except for the one in Eve’s back.)
The worst was over. So I turned Eve loose for the day and pressed on. The next step was to permanently attach the fixed panel to the frame. I slid the door toward its place, but it would not go.
I looked at the door.
I looked at the frame.
I looked at the door again.
I pulled the door away from the frame and pushed it again.
It would not go into place. Something was hanging up. Examining everything more closely, I could see there was a strip of aluminum screwed to the edge of the door was supposed to tuck into a receiver on the frame, but it was misaligned ever so slightly from the factory.
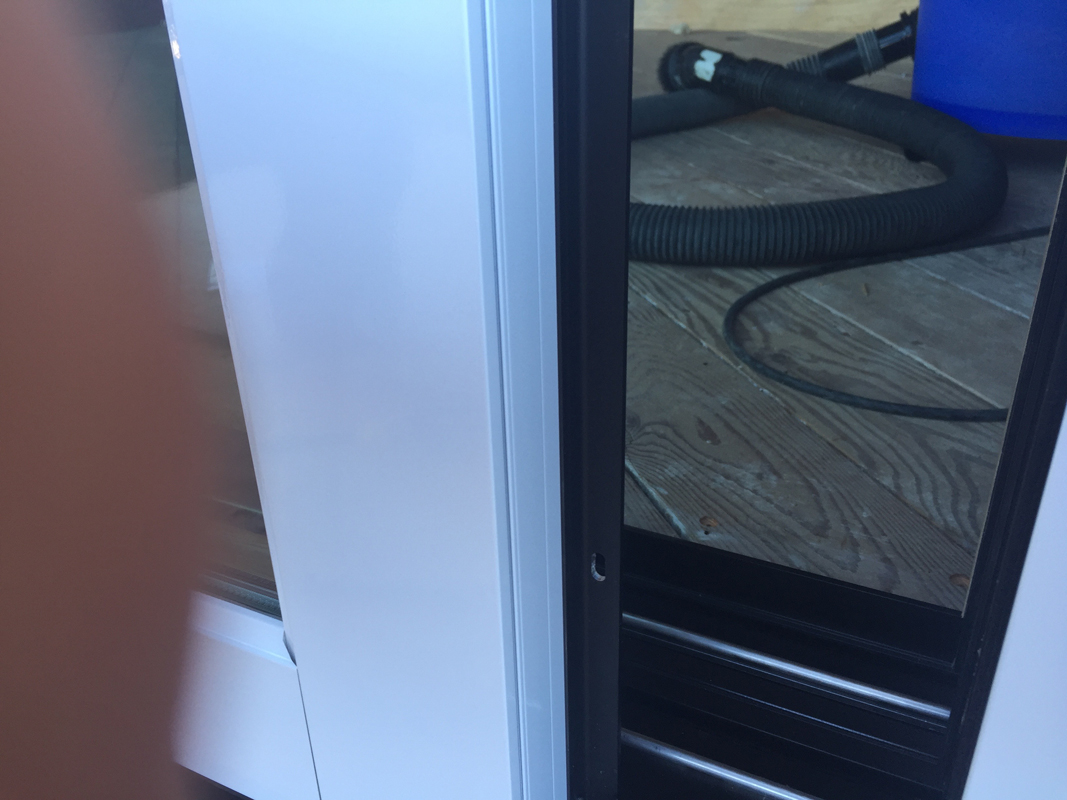
Sorry about photobombing this with my finger. Here you can see the brown aluminum strip on the edge of the door.
The solution? I beveled the corner of the receiver block with a chisel to minimize the catching.
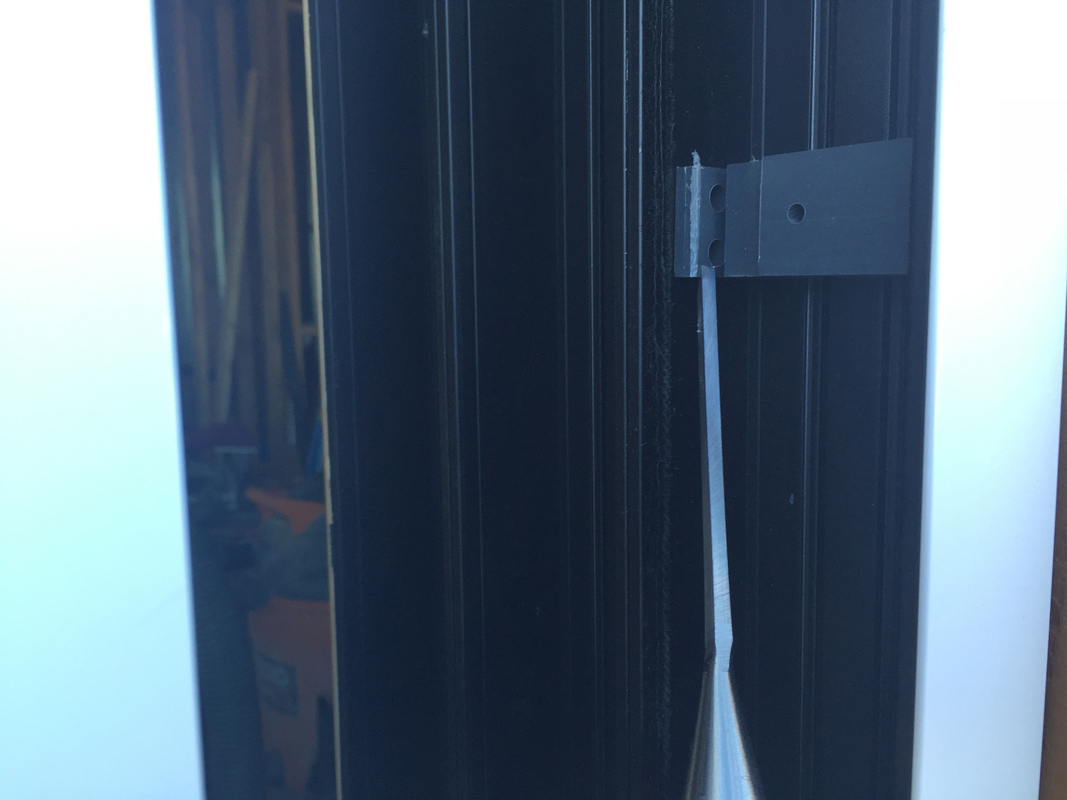
By easing the corner, I gave the aluminum a chance to just slip past the point it was catching.
It worked. The next time I slid the panel over, it went right into place!
Then it was just a matter of making adjustments to get the doors to sit level and plumb and roll smoothly on the track.

In place and ready for the finishing touches.
All three doors stacked to the left. The plastic film is still on the interior of the doors, so it’s a little hazy.
Stay tuned. In Part 3 I will box out the pilasters, and finish up the remaining door hardware.
