
Our house is stucco, and when you renovate a stucco house, you have to call in the experts. (Well, I have to. Maybe you are a stucco master? And, yes, I know this is the weakest headline ever…)
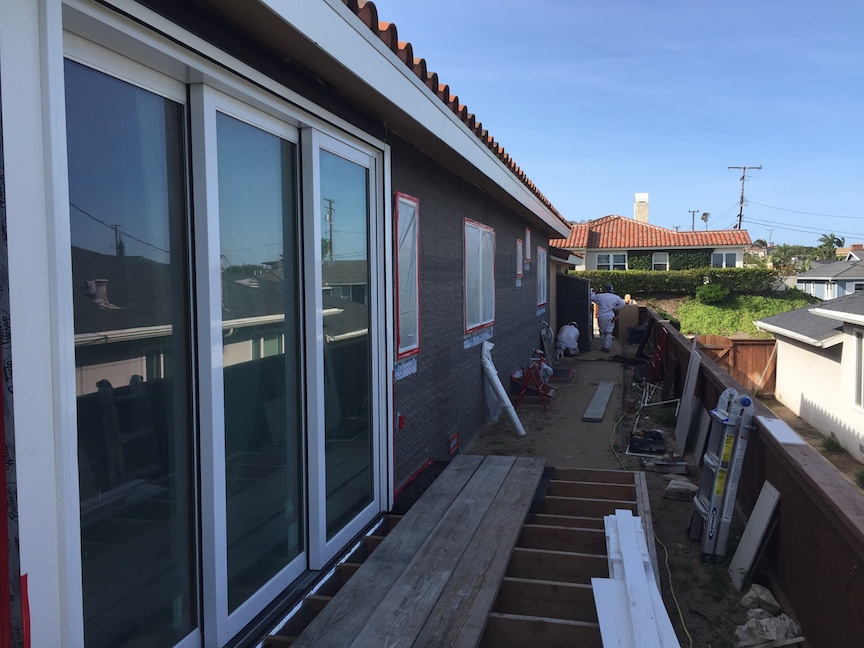
Frequent readers of this blog may remember that we decided to strip all the stucco off the west-facing wall of the house because we had changed so many window locations that there were more patches than there was good stucco. It was much more efficient to start from scratch with new plywood and tarpaper to make sure that the wall that took the most weather was as watertight as possible.
I had identified the plasterer I wanted to use quite a while ago. In fact, I didn’t bother to get competitive bids. He came highly recommend and he is a third-generation plasterer. We hit it off when he came out to look at the job and we was willing to work within my goofy schedule. (Because, when you are a one-man operation, progress is not always speedy.) Anyway, he came and papered the house and installed the wire lath back in January, while I was in Minneapolis helping my sister with a list of projects at her house.
The house sat with the tarpaper and wire lath for months, but we were finally able to get on the schedule to get the scratch and brown coats complete.
The house stayed that way for several months, but was fine and offered some weather protection. The windows and doors were sealed and except for the most severe storms, I wasn’t too worried. Plus, we really don’t get very many severe storms here in SoCal.
The process for installing stucco is straightforward. You mix up a batch of stucco mix and smear it on the wall with a trowel. There are a lot of different specs of cement and additives and such, but the art of it is in the installation.
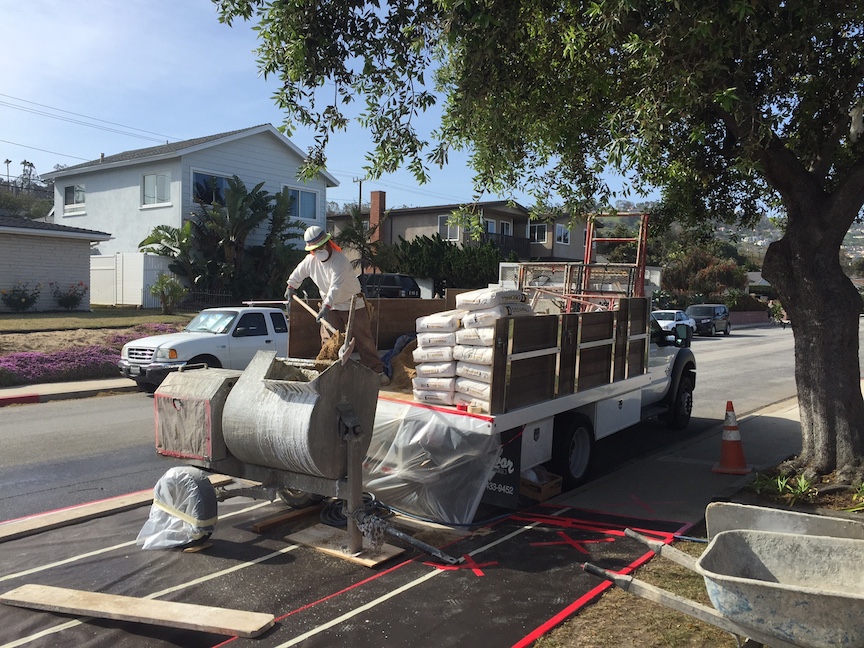
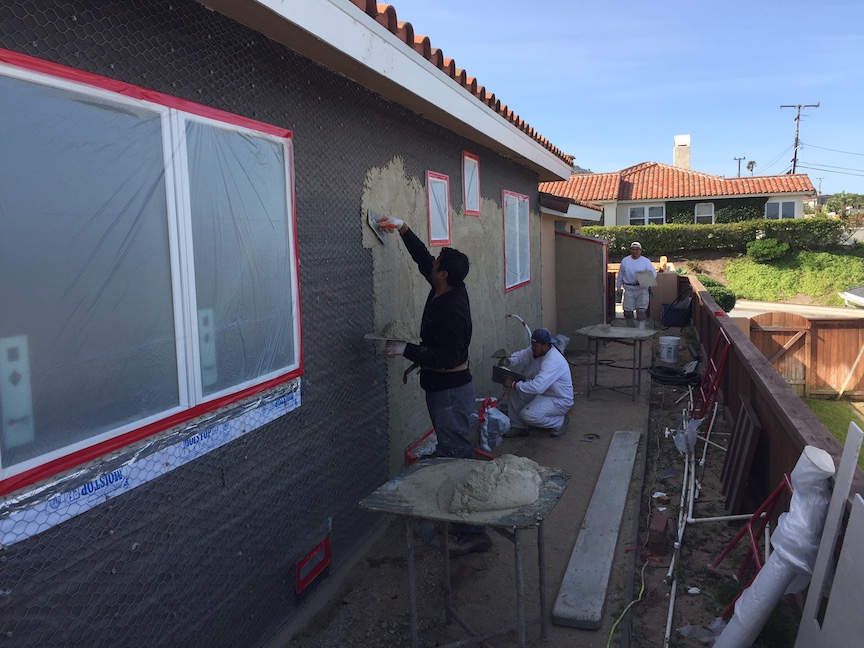
True professionals. They even put paper down on the street so they wouldn’t make a mess.
Good installers start with good prep. Most everything was done months ago, but since then I did pull the window in the master shower, so that section of wall had to get papered and lathed.
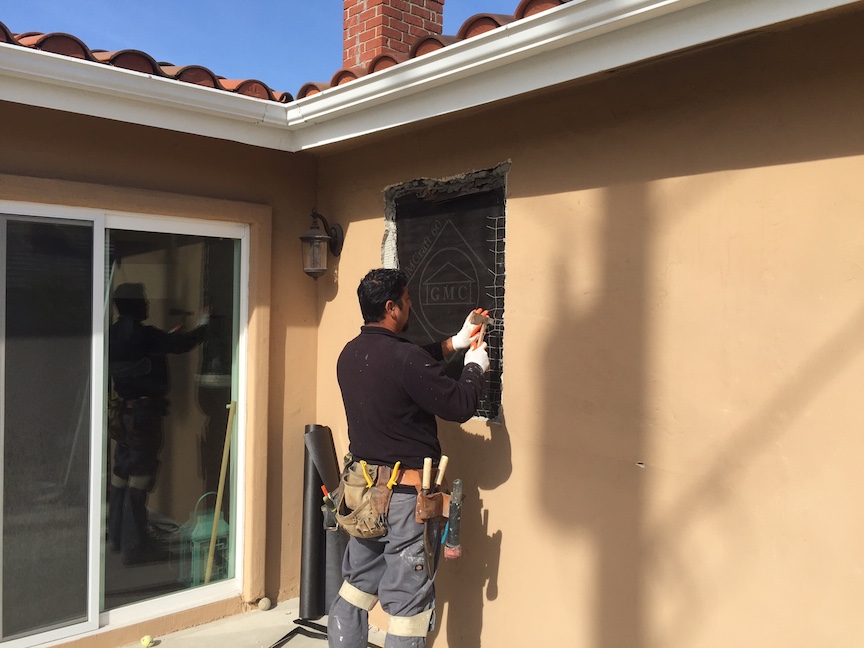
The lath guy is waterproofing the old window opening and tying in the existing lath with the new material.
The crew tapes off all the windows with clear plastic and red duct tape. All the stucco guys use red, I suppose so it is easy to see and remove when the time comes. After they lay on the coat, they peel off the tape, leaving a clean crisp edge.
You can see the copper access door below the electrical panel, in case we need to pull wire to add circuits. We also ditched one of the awning windows since the new closet wall landed right in the center.
Once a batch is mixed, the plasterers scoop a mound onto the hawk, a flat piece of aluminum with a handle below. Then they hold the hawk up against the wall and swipe the trowel up the wall. After it has some time to set, they rake the surface to create ridges for the next coat to adhere to. That is why first coat is called the scratch coat.

Troweling on the scratch coat.
Typically, in a traditional three-coat system, cure time is necessary between coats, but for a small job like this, my contractor does scratch and brown in the same day (and sometimes color). He uses a specific brand of cement that is about three times the price of regular stucco cement, but it sets rapidly so his labor and travel costs are reduced.
Slap it on and smooth it out. With a crew of five or six, they had the house taped off, coated and smoothed in a day.

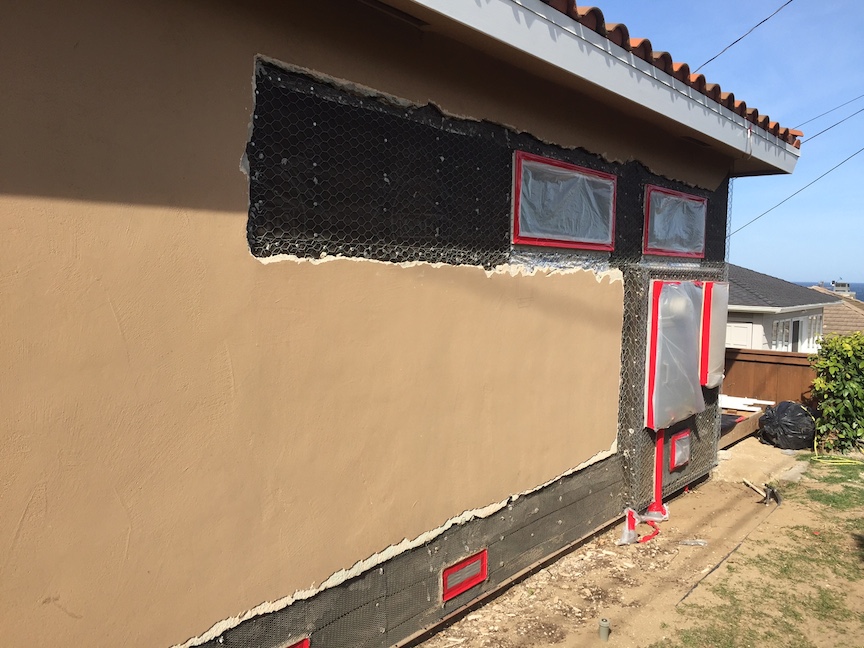
Here they are beginning to apply the brown coat. I think (If you are really interested, you can ask Google yourself) they used to mix the color differently to differentiate from the scratch coat.
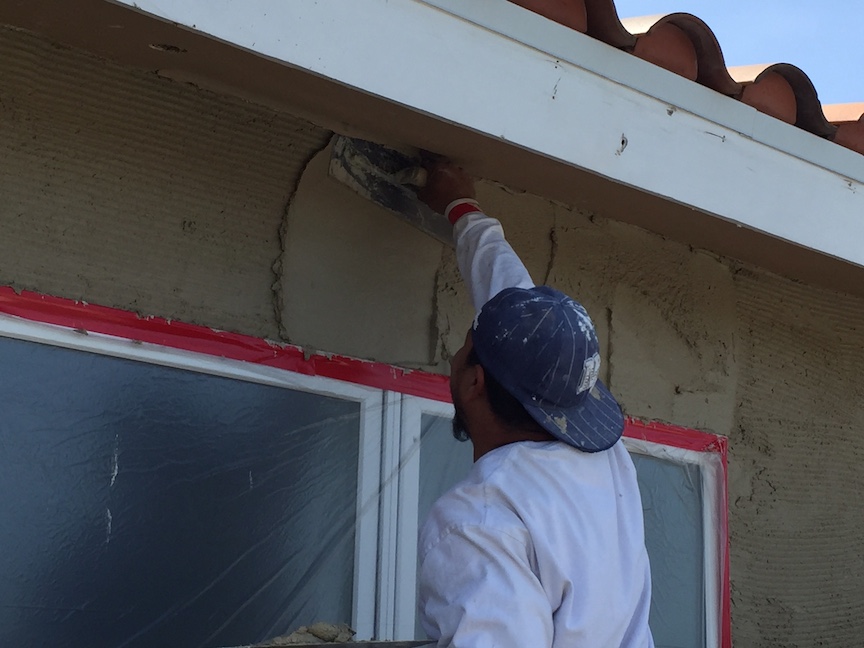
A close up of the brown going on. Here you can really see the rake marks in the scratch coat.
After the scratch has had a chance to set up, out come the darbys. A darby is just a long wood or metal straightedge that helps the plasterer get a perfectly flat finish. Sometimes, depending on the look they want to achieve, everything is done with hand trowel and the swipe marks, imperfections and bumps are desirable. In our case, we are going for a clean, modern look, so we want the walls flat.
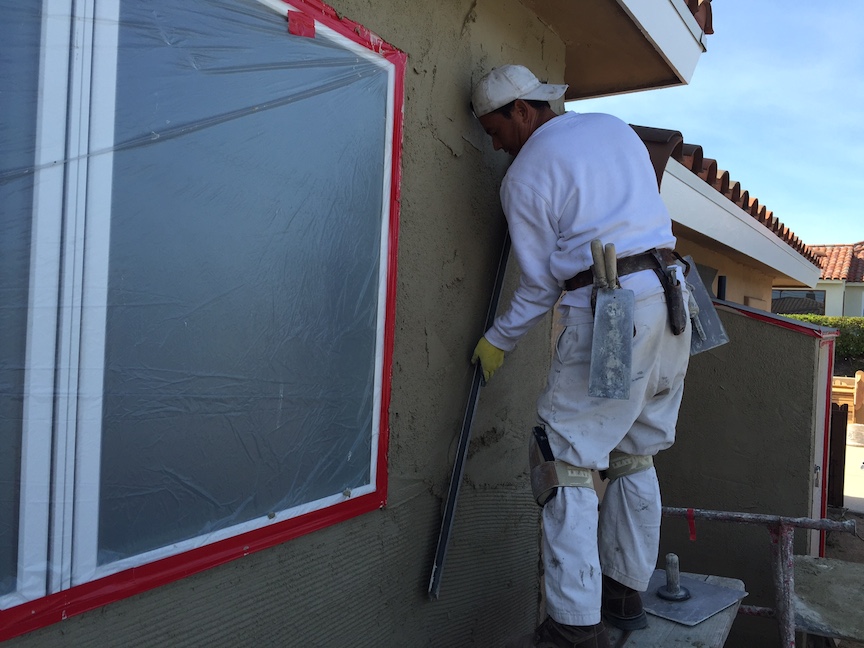
Smoothing a wall section with a straightedge.
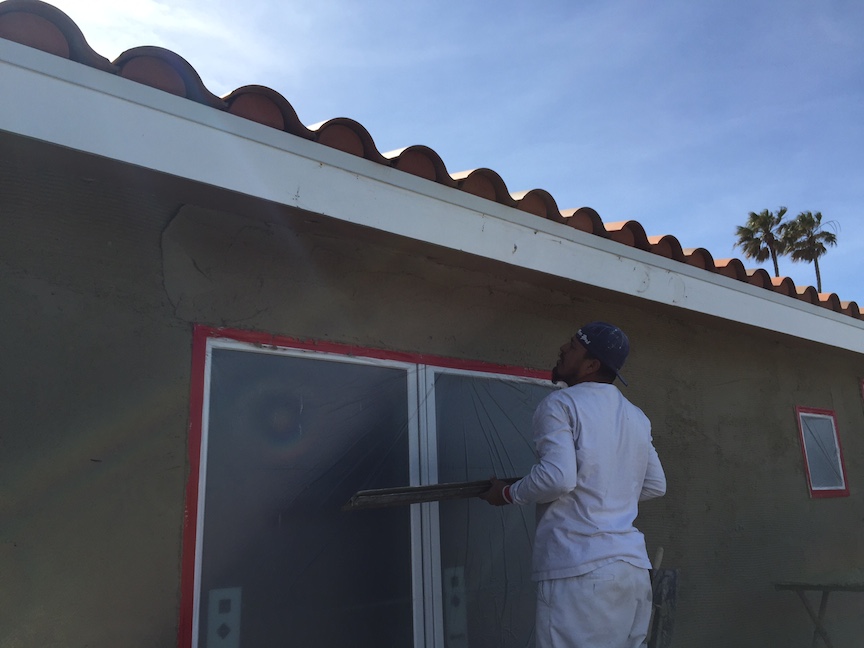
Checking the work…
Once the wall is complete and flat, everything is given another once over with the trowel to finish it off. In most cases, the color goes on next. But for us, we are back to waiting. We still have the kitchen and living room project, and that means more windows getting moved, replaced or resized. So after that is done, the plasterers will return to patch those areas. Then we will sandblast all the existing color off the house and re-everything at once.

Thanks for pics! Looking good! Have to be happy with the progress.
LikeLike