
Our plans were approved in May and I started in on some of what I like to call “light” demolition. This included taking down bilnds, towel bars, pulling trim off the windows and doors and so on. We started packing up our stuff into boxes for storage as well. We had guests coming in town for spring break, so I wanted to wait until after their visit to really get started on the dirty work.
The first thing I tackled was a new foundation stem wall to satisfy the shear panel wall requirement for my engineer as well as the city engineer.
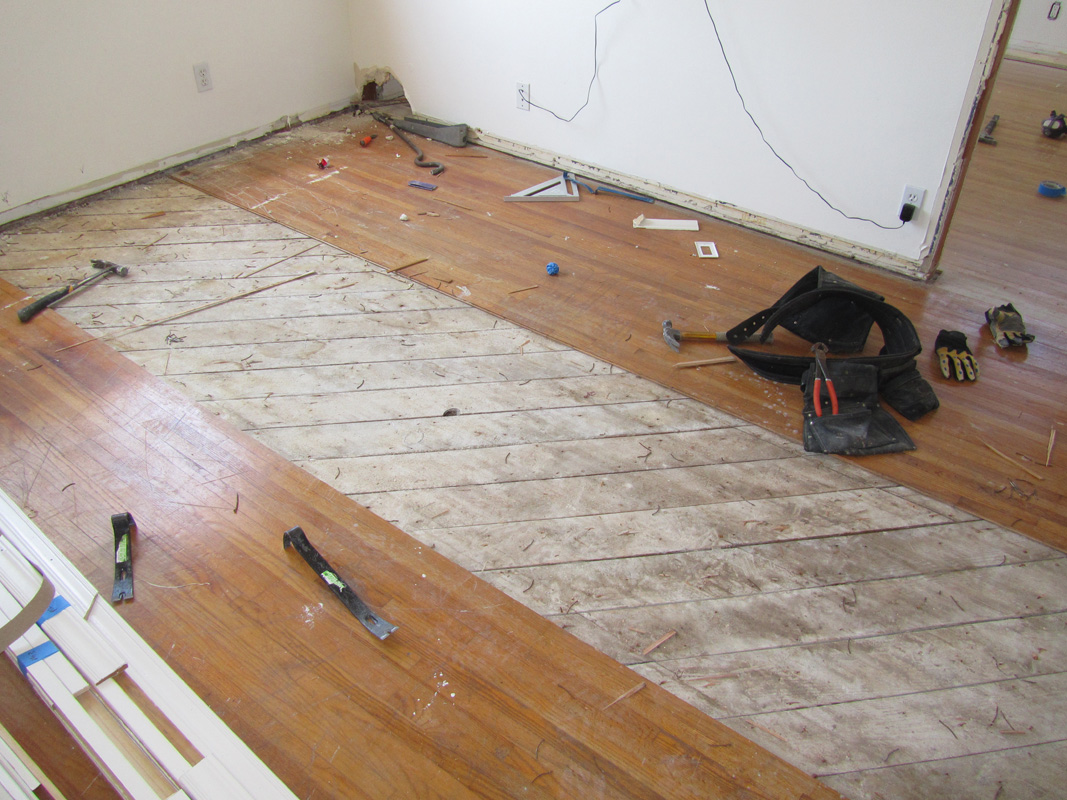
The new shear wall is going right where that stripe of missing hardwood floor is.
We had to add this shear wall because the wall dividing the master bedroom was an exterior wall when the house was built, and the master was added on later. Since we are taking the wall out to enlarge the bedroom, we had to transfer the shear strength to the new location. That meant new footing and concrete foundation wall. Then a specific wall assembly all the way to the roof.
After I opened the floor, it was time to start digging. The soil here is mostly sand with some fine silt clay mixed in. It compacts well, and digs easily. Which was nice because this was all shovel and bucket work.
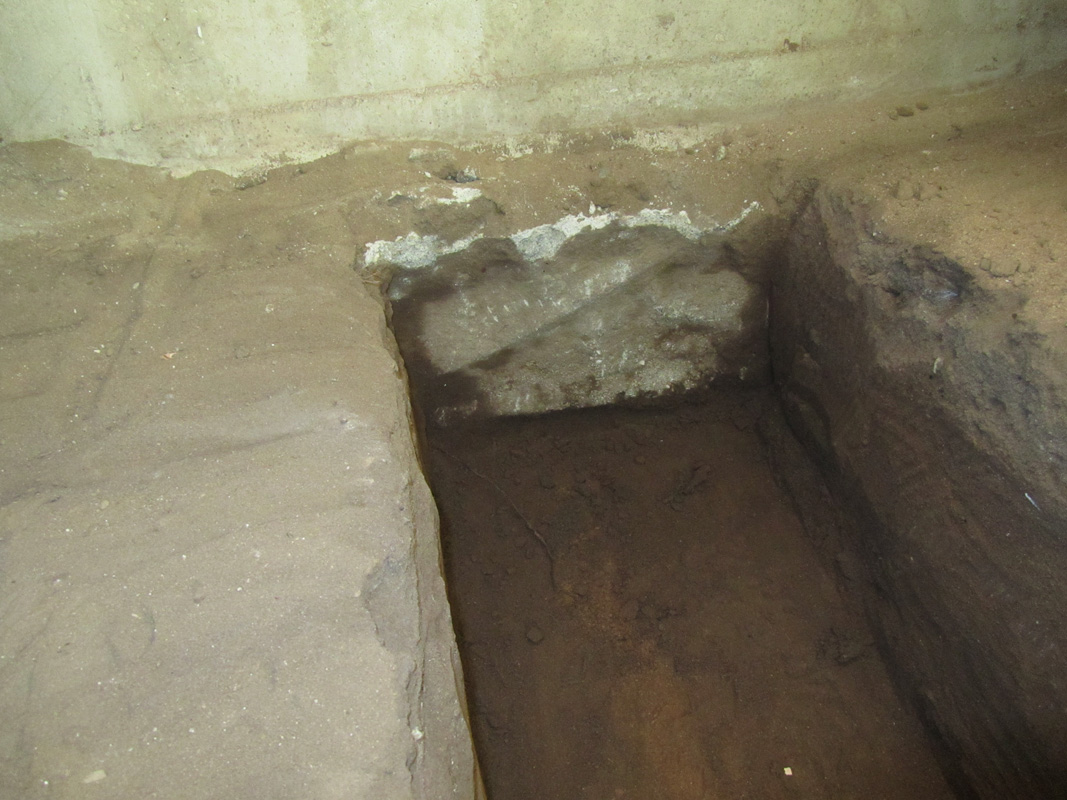
Many older homes have horribly inadequate footings. Not so here. I just needed to bore a couple holes and epoxy in some rebar dowels to tie the footings together.
The footing was simple. Just dig a 15-inch-wide trench with nice square sides. It didn’t even have to have to be perfectly level. The wall form, on the other hand, had to be perfect. On top of the concrete rests a sill plate, then a double 2 x 6 joist gets attached to that. All this has to finish even with the rest of the floor joists so there is not a hump under the finished wall. I could work from the existing plate as a reference point, then it was just a matter of setting everything perfectly level. It took a lot of measuring, math and checking everything with an accurate level to be absolutely certain that it was correct.
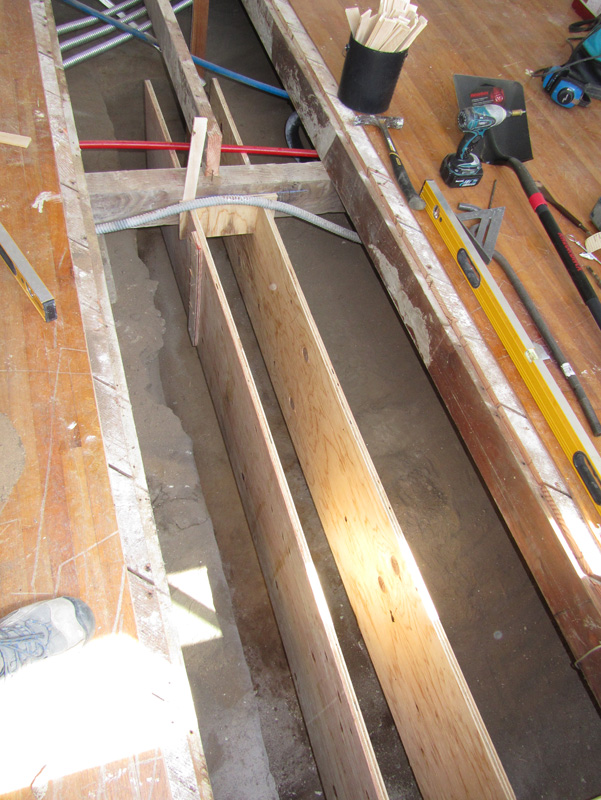
I had to build the form around the existing floor beam while maintaining separation between the untreated douglas fir and the new concrete.
Once I had the form finished and the rebar cut and ready to install, I called for my first inspection.
I always dread the first inspection, because you never know what you are going to get. Some inspectors are great. Some are awful. Some understand that there are homeowners like me out there who actually know what they are doing. Then there are some who think that homeowners have no business doing this type of work on their own homes. Luckily, I seem to have a good one. He liked my work and actually said, “Part of this job is being able to judge character, so you’re good.” That was a huge relief.
Now I could pour concrete — just in time for a visit from my road-tripping nephews and their buddies from Ireland.
YEESSSSS! FREE! LABOR!
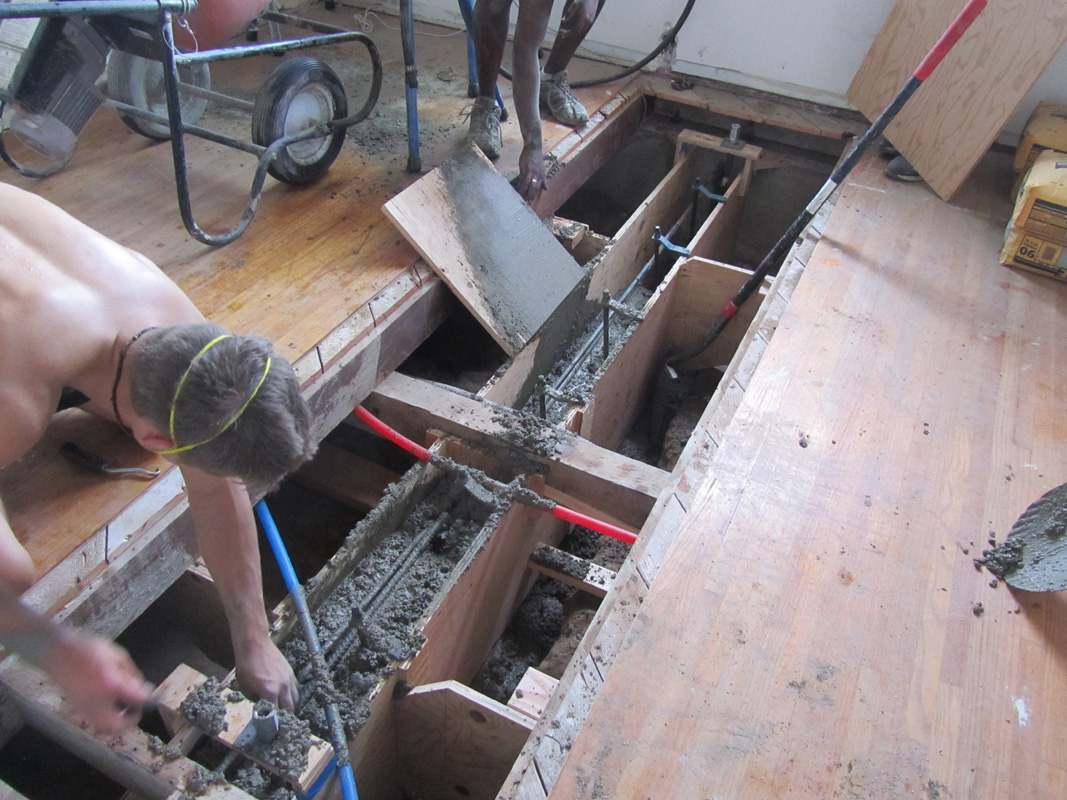
We rented a small concrete mixer and poured the wall three bags at a time. My nephew Elijah is tying in the top course of reinforcing bar.
All told, it took us about 3 hours to knock out the wall.
Here’s the finished product.

See those two big coupling nuts on top of the plywood risers at each end of the wall? I’ll go into the details of what those are for in the next post.
Next time, we’ll look at the hardware that this wall requires to achieve the specified shear value.

Pingback: Seisemology Matters… |·
YEAH – Free labor! How “free” is free?
Giggle!
LikeLike